From what you've said it sounds like you actually tried to hit each separate key. You don't have to press "+" or anything like that. Just hold down CTRL and then hit C. This is the keyboard shortcut for Right click > copy. Holding down CTRL and pressing A is the keyboard shortcut for Right click > select all. I'm not sure what you're doing wrong, but it sounds like you were hitting them separately. Hitting the spacebar between CTRL C or letting up on the key or something. As Kitsu said, you can always right click > copy and right click > paste. CTRL-V(hold down CTRL and hit V) is the keyboard shortcut for paste.

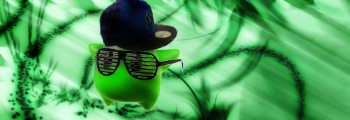
This was my end result after following the tutorial. I didn't need to grab the brushes, of course, but whatever. One of the brushes that I use that you can see on both sides of the image where the small white strokes are was a brush that I created myself. I used Photoshop for this. I didn't really use any features that aren't available in GIMP, though. If you'll notice, I also put a shadow on purple Link. I actually learned this technique from Caleb yesterday. I just set the feather on the edges of the circle tool to 10 and then lowered the opacity a little.
Photoshop has no gradient flare feature, so I had to go into GIMP and grab a png of the gradient flare to put into my image... That's one thing that Photoshop doesn't have. They have lighting effects and regular lens flare... but no gradient flare anywhere.


 :)")
 ;)")