- Chapter 1 – Mercay Island
- Chapter 2 – Temple of Fire
- Chapter 3 – Ocean King Part II
- Chapter 4 – Temple of Wind
- Chapter 5 – Ocean King Part III
- Chapter 6 – Temple of Courage
- Chapter 7 – Ghost Ship
- Chapter 8 – Ocean King Part IV
- Chapter 9 – Goron Temple
- Chapter 10 – Temple of Ice
- Chapter 11 – Ocean King Part V
- Chapter 12 – Mutoh’s Temple
- Chapter 13 – Ocean King Part VI
10.1 Isle of Frost
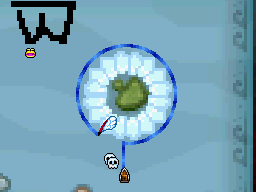
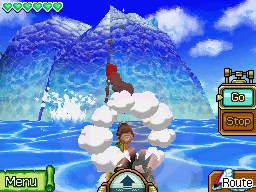
Set sail for the island that is at the northeast corner of the Southeast Quadrant. If you have yet to venture in this direction, once you get near, you will find that the island is surrounded by ice. Trace a path around the island and shoot the ice down with your cannon. Each block of ice will take multiple shots to take down. If you fail to knock down all the ice, just keep sailing around and hitting it until you do. Beware of the enemies that will do harm to your boat. Once all the ice has been removed, dock at the Isle of Frost.
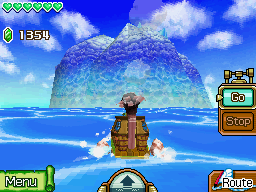
Once you arrive at the island, you can run around and talk to many of the Anouki to get some backstory about the Pure Metal and the relationship between the Anouki and the Yook. Eventually make your way to the hut that is on top of the hill to meet the Island Chief. He will task you with finding the Yook that has infiltrated the Anouki. Head north to the Anouki Estates where there are six huts.
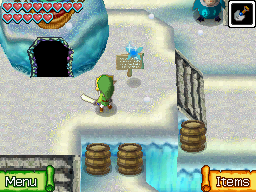
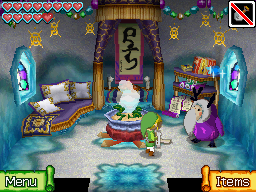
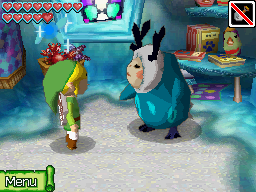
You have to enter all six huts and speak with all six Anouki before you can progress. After talking to all six Anouki, enter the top-middle hut for a second time. This is supposed to be Aroo’s hut, but he is actually the Yook disguising himself as an Anouki. Call him out and he will eventually reveal himself. The Yook will blow you away and then run off. Return to the Island Chief and after hearing about your action, he will grant you access to the Great Ice Field at the east end of the island.
At the northeast corner of the Anouki Estates, there is a gossip stone that tells you to trace a line between the stone and the Island Chief’s hut. This line passes right by the entrance sign of the Anouki Estates, just east of the bridge. Pull out your shovel and dig up the soil just in front of the sign to find a Big Red Rupee.Optional: Big Red Rupee


Speak with the Anouki that is blocking that path that leads to the east side of the island. After hearing that you spoke to the Island Chief, he will allow you to pass. Make your way through this small cave to arrive at the Great Ice Field.
Since we are on ice, the floor here is slippery and it is also very windy. The ice field is filled with six enemy Yook. These large creatures will walk around and occasionally inhale air, preparing for an attack. While a Yook is inhaling, toss a bomb and it will suck it in. After it explodes, deliver a number of sword slashes to defeat the enemy. Walk around the Great Ice Field and defeat all six of the Yook that are found here, causing the pathway to the northeast to open up.
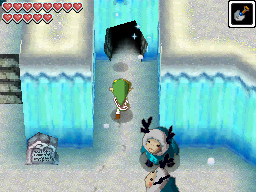
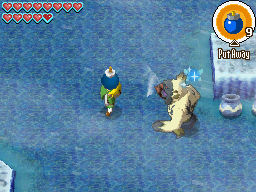
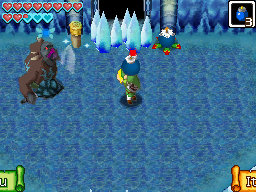
Run onward and you’ll be confronted by that Yook that was posing as an Anouki. Defeat him just as you fought the previous Yook and the pathway ahead will open up. Once you are ready, go ahead and enter the Temple of Ice.
10.2 Temple of Ice
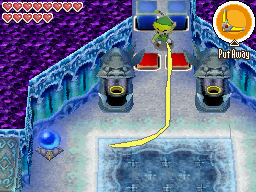
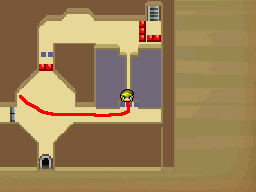
Hit the crystal switch nearby to lower the red blocks and then run up ahead. From here, use your boomerang to hit the switch again, lowering the blue blocks and allowing you to pass. On the right side of the room, make your way across the ice ledge, avoiding the spikes. Step on the floor switch here to open the nearby door. Now stand just above the lowered blue blocks and trace a bombchu path back to that same crystal switch. This will lower the red blocks, allowing you to climb up the steps at the northeast corner of the room.
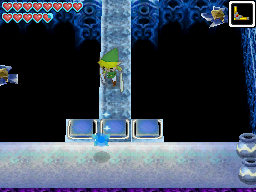
Break the pots to replenish health and then head up to the 3rd Floor.
Run to the southeast corner of the room and jump on top of the wooden peg. From here shoot an arrow at the crystal switch, causing the nearby ice to melt. Just north of the melted ice there is a treasure chest that you can get to, and it contains a Big Green Rupee, so be sure to snag that. There is a new enemy Stag Beetle here and at the moment it can only be defeated by attacking its backside.
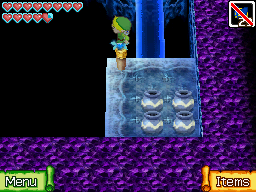
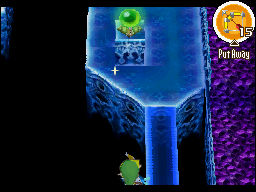
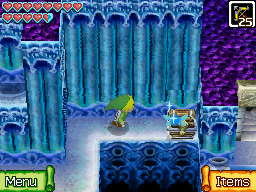
There are four levers against the wall at the top of the room and your goal is to pull them in the proper order. You can look around the room for a few clues if you’d like, or just pull them in the proper order listed in the guide. The three clues given are as follows.
Pull the one in front of the tongue second.
Draw a line due north. Pull the level in that location last. (Referring to the second from the left)
First, pull the level on the far left.
Thus, you want to pull them in the following order:
- Pull the far left lever first.
- Pull the far right lever second.
- Pull the second from the right next.
- Pull the second from the left last.
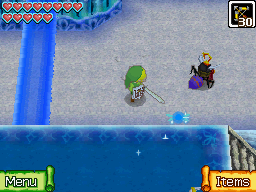
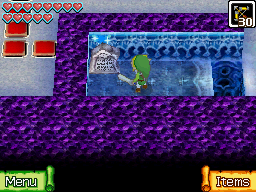
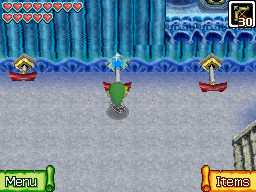
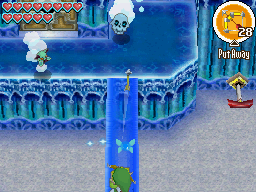
Doing so will cause one of the doors in the room to open up, allowing you to reach the second level of this floor. Climb up, and you should defeat the Ice Bubbles and the Ice Keese that are found on this higher platform, as they can be a nuisance. You can get rid of them with a single arrow shot.
Make your way across the various bridges to get to the southwest part of the room. Just to the west you’ll see a crystal switch. Pull out a bomb and toss it at the switch, causing the blue blocks to be lowered.
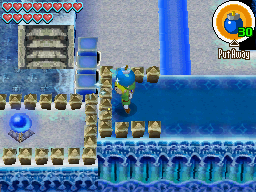
Toss a bomb to lower the blue blocks in the room. Then climb up the small steps just north of the crystal switch. Open the treasure chest here to get the Wisdom Gem.Optional: Wisdom Gem #12


With the blue blocks lowered, climb back up to the higher level of this floor, and this time we can walk across the bridge to the left. Walk over to a stone tablet and it gives you a hint on what you need to do. You need to stand on the blue tile and hit the four switches in the correct order. Pull out your boomerang and trace a path to the switches in the following order:
- Northeast Orb.
- Northwest Orb.
- Southwest Orb.
- Southeast Orb.
Doing so will cause a small key to appear on the nearby platform. Snag it with the boomerang and then make your way to the north end of the room. Use the small key and head back down to lower floor.
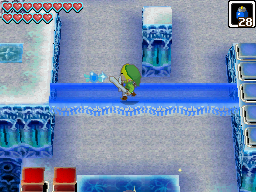
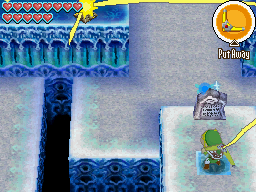
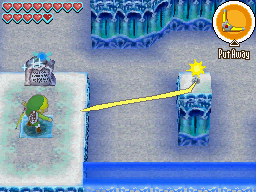
There are two Yook on this floor, and the battle with them is the same as the previous Yook we have encountered. Defeat both of the enemies and open the treasure chest that appears to obtain the Grappling Hook. This item will allow Link to grapple over to objects, as well as create tightropes that he can walk over, or ricochet off of. Walk to the left and grapple over to the wooden peg. Then climb down the steps to get back to the first floor.
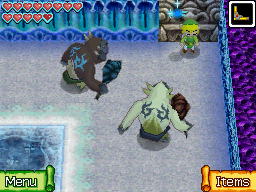
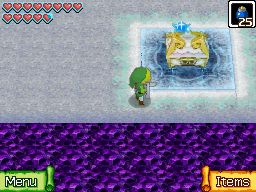
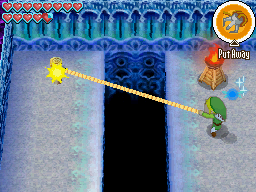
Now that you have the Grappling Hook, you can pull the mask off of the Stag Beetles. This will leave them vulnerable and make them easy to defeat. Defeat all of the enemies and then take a look at the statues. Use your grappling hook on the statue that is in the middle to pull its tongue out. This will cause the nearby ice to melt.
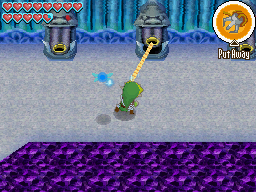
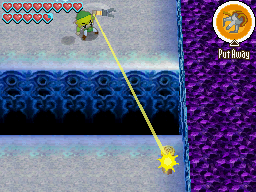
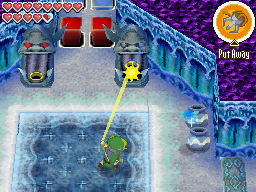
Grapple across the gap and then step on the switch to make for easy access back to the entrance of the dungeon. There are two statues at the entrance room, near the red blocks. Grapple at the tongues to pull them, causing the ice to melt at the southwest portion of the room. Make your way over and head down to the floor below.
Place a bomb against the cracked wall to blow open a gap. Step on the floor switch that is just around the corner, causing a treasure chest to appear. Then use the grappling hook to cross the gap and open the treasure chest for a Yellow Potion, or a red rupee. Step on the floor switch to get a bridge to appear.
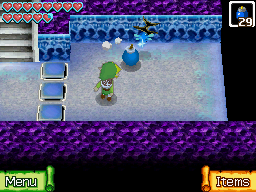
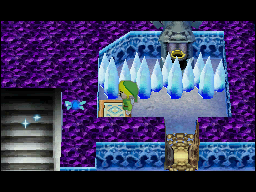
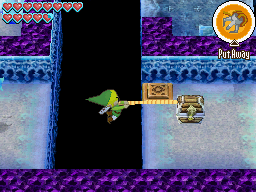
Just above the treasure chest, you can place a bomb to blow a hole in the wall. We will need this for a shortcut in a little bit. Run over to the right side and place another bomb against the northern wall on the blue tile, blowing open a gap. You can examine the nearby Gossip Stone as it gives you a hint on what you need to do. Use the grappling hook on the wooden peg to the right, as well as on to the wooden peg across the gap on the right. This will create a tightrope and Link can walk across it.
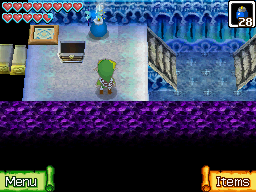
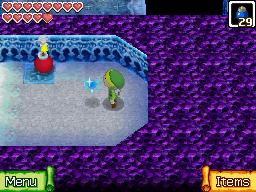

Just north of the torch, there is a lever across the gap. Use the grappling hook to pull it and a treasure chest will appear at the southeast corner of the room. Walk to the north and get rid of the stag beetles that are in the way. There is a statue with a tongue nearby and you need to pull it with the grappling hook. However, we want to stand as far down the screen as we can. This is a timing puzzle, and once you pull the tongue, it will slowly retract. While it is pulled, the spikes at the southeast corner of the room will disappear, allowing you to pass. Quickly race across the ice and make your way over to the treasure chest. Open it up to get a small key.

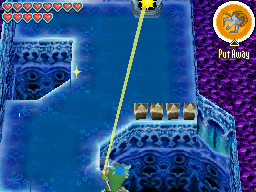
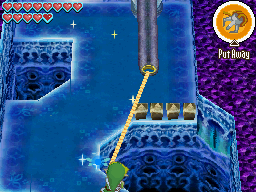
Push the nearby block up and step on the floor switch, creating a bridge across the gap. Now run to the northeast corner of the room and use the small key on the locked door. Hit the crystal switch with the boomerang, while standing below the blue blocks. This will cause the red blocks in the room to lower.
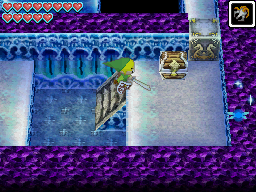

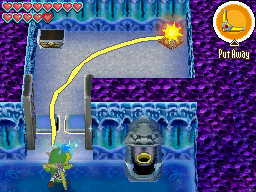
After using the small key on the door at the northeast corner of the room, be sure to open up the nearby treasure chest to get the Wisdom Gem.Optional: Wisdom Gem #13


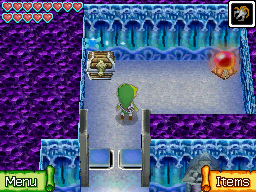
Return to the Gossip Stone that is located near the center of the room. There are two wooden pegs to the left of the stone. Use your grappling hook to create a tightrope. Get rid of any nearby Ice Keese so they don’t bother you. Now pull out your boomerang and trace a path so that you hit all four of the crystal switches. This will cause the nearby ice to melt. Now pull out your bow and shoot the eye target with an arrow.
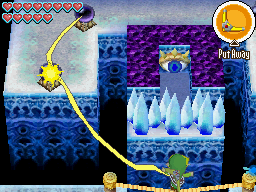
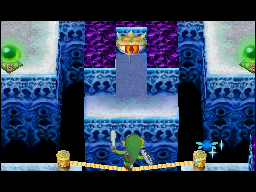
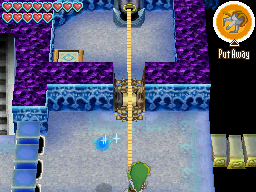
Run to the southwest part of the room and stand against the southern wall. From here, grappling the tongue on the statue and pull it back. This will cause the door at the north end of the room to open up. In order to make it there, you have to grapple across a series of platforms along the west and northwest side of the room. Just make your way around, grappling to each hook, while trying to avoid sliding off the platform. If you don’t make it in time, you’ll have to return to the southeast corner of the room. Once you make it, the door will stay permanently open. Go down the steps to get to the lower floor.
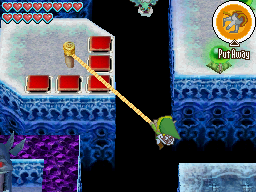
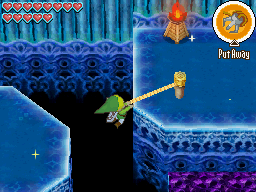
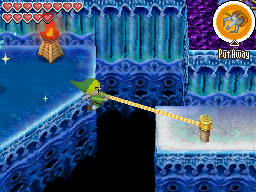
Make your way to the west side of the room and grapple across the gap using the grappling hook. Walk to the right and you’ll be confronted by an enemy Yook, as well as a Slime. Defeat the enemies and the nearby ice will melt.
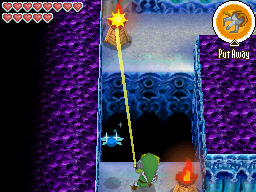
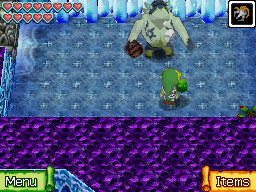
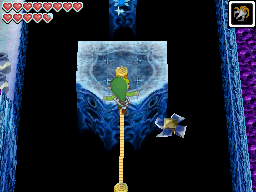
Use the grappling hook to create a tightrope between the two wooden pegs. Walk across, but be careful of the moving spike that is in your path. Get rid of the Ice Keese here, as they could cause you trouble. Now, create another tightrope and make your way to the north end of the room.
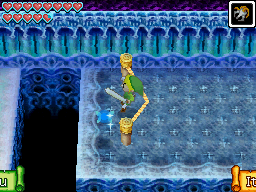
There are two wooden pegs here and the gap is just a little bit too far for you to jump across. So instead, create a tightrope between the two pegs. Then push into the rope from the left side and Link will lean. Then quickly try to run across the gap. The tightrope will slingshot you across the gap, landing you at the northwest corner of the room.

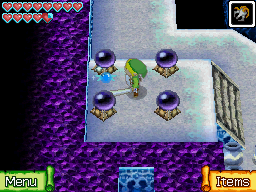
Run over to the four switches and deliver a spin attack to hit all four of them at once. A treasure chest will appear and the door at the south end of the room will open up. You can use a bomb against the southern wall to easily backtrack. Make your way to the south end of the room and head through the new passage.
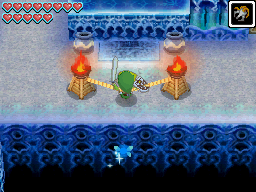
There are two torches near the center of the room. Create a tightrope between the two torches and use the rope to launch yourself onto the ice platform above. From here grapple over to the torch to the left, and then to the torch above. Pull out your bow and shoot the eye switch above, causing the nearby door to open.
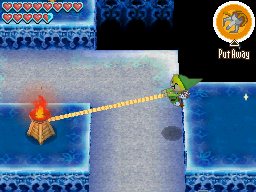
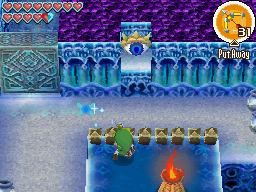
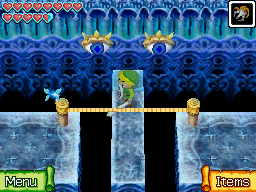
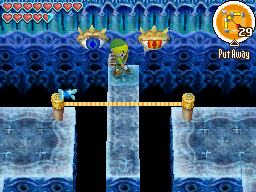
Run over to the north end of the room and you’ll find two eye switches. The eyes will shut if you are facing northward. The trick here is to stand on the blue tile, located right in between the two eye switches. Create a tightrope using the two wooden pegs. Now facing southward, shoot an arrow at the rope and it will ricochet off, bouncing back towards the northern wall. Aim so that you hit the rope diagonally and the arrow bounces back and hits the eye. Hit both eyes and a treasure chest will appear. Run over and open it to get a small key.
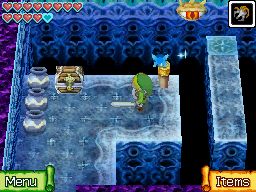
Make your way back to the south end of the room, stepping on a floor switch to create a bridge. Use the small key and in the next room the door will close behind you. Defeat the Yook, along with the two Ice Keese. Open the treasure chest here to get a Big Red Rupee and then head to the southeast corner of the map.
Use the grappling hook to reach the peg at the south end of the area. Then climb on top of the peg and grapple over to another peg that is higher up. Repeat this same process until you reach the top of this small hill and step on the floor switch. Make your way through the passage that has opened up and carefully navigate your way across the narrow ice platform. At the far west end of the path, step on the floor switch, causing the nearby ice to melt.

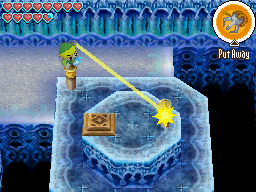
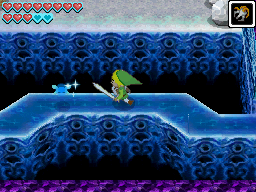
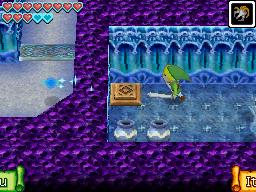
Return to the large treasure chest and open it up to get the Boss Key. Carry the key up the stairs back to the higher floor. Now use the boss key and break all the nearby pots to recover some of your health. Be sure to examine the tablet to create a warp point and once you are ready, climb up the steps to take on the dungeon boss.
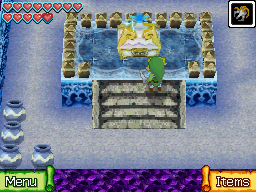
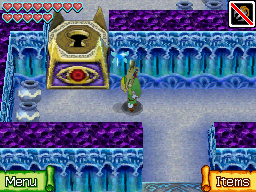
Gleeok serves as the dungeon boss and has two elemental heads. A Fire head that will shoot fireballs towards you, and an Ice head that will shoot a snowball at you. Both of the attacks will shoot directly towards the center of the platform and can easily be dodged. Additionally, the heads will occasionally try to bite at Link and as long as you keep moving, you should be able to avoid those attacks as well.
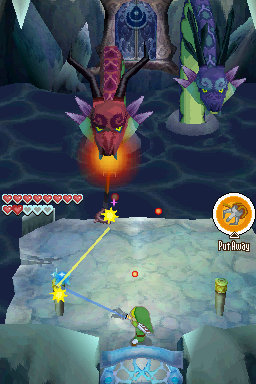
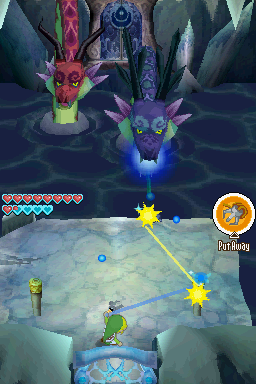
The key to defeating Gleeok during this first phase is to use its elemental attacks against it. When the Fire head gears for an attack, use the grappling hook to create a tightrope, connecting the upper-left peg and the lower-right peg. When the fireball is shot, it will ricochet off the rope and it will hit the Ice head, cracking a part of its mask. Likewise, when the Ice head attacks, you want to create a tightrope connecting the upper-right peg and the lower-left peg, which will cause the icy ball to ricochet and hit the Fire head.
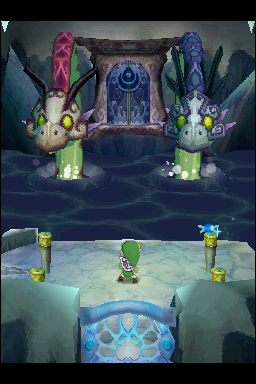
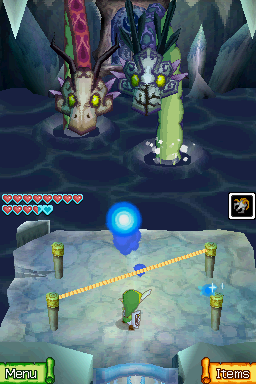

The two dragons will occasional dive underwater, creating a tidal wave. Jump onto one of the pegs and wait until some ice comes by. Once the ice draws near, jump away and just keep moving to avoid getting hit. Once the Gleeok heads come back to the surface, repeat the same process of ricocheting the attacks until both of the masks have been broken.
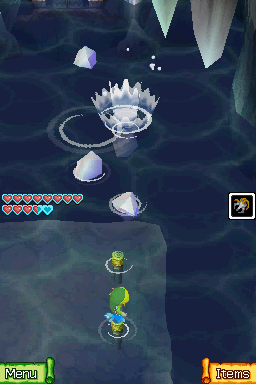

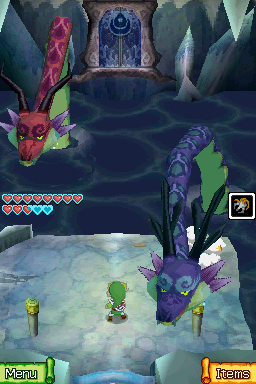
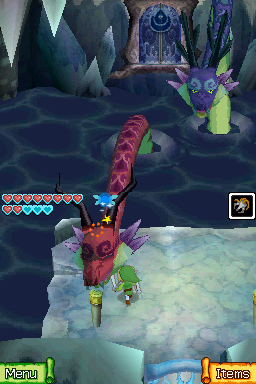
Gleeok will then bite off the front two pegs, preventing you from ricocheting any attacks. However, it will now change its attack pattern, sucking in air, preparing to unleash a massive attack. These attacks are hard to avoid, but fortunately we can stop them before it can even attack. Use the grappling hook on one of the wooden pegs and connect it to the tip of the head’s tongue. The head will come crashing down to the ground, at which point you should land a series of sword slashes. Repeat the same process of pulling at the tongues of the two heads and slashing away until Gleeok has been defeated.
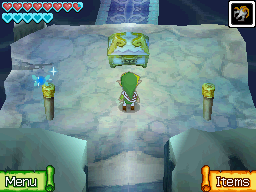
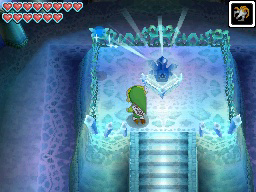
Open up the treasure chest here to get the heart container and then run onward to the next room. Pick up the second Pure Metal, Azurine. Step into the warp portal to quickly return outside.
10.3 Post-Temple Goodies
Everything in this section is completely optional. Now that we have the grappling hook, all those various wooden pegs that we saw earlier can now be used to find some treasure. There are a ton of Gems and Treasure Maps to collect, but if you’d like to continue onward with the main quest, head over to Mercay Island and jump to Chapter 11. NOTE: If you already got the final Sea Chart, and want to just move along with the story, skip ahead to chapter 12 and venture into the Northeastern Quadrant.
Jump on top of the peg that is right next to the entrance of the Temple of Ice. From here, grapple over to a series of pegs to the left, climbing up the side of the area. Once you reach the top area, walk down a screen. Grapple over to the peg to the right and walk around the east perimeter of the island. You will find a treasure chest on a lower ledge. Drop down and open it to get a Power Gem.Optional: Power Gem #13


At the southwest portion of the Great Ice Field, climb the steps and grapple over to the peg that is at the south end of the island. From here you can climb and make your way eastward. There are a pair of treasure chests that extend outward towards the center of the Great Ice Field. Open them up to get red rupees. At the southeast corner of the map, there is another treasure chest, this one containing a Big Green Rupee.Optional: Great Ice Field Treasure


Over at the Anouki Estates, use the grappling hook to get over to the small island just southeast of the Estates. Pull out your shovel and dig up the center of the island to find a Big Gold Rupee!Optional: Big Gold Rupee

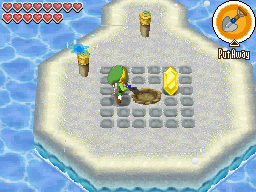
Southwest of the Anouki Estates, cross the bridge to the small island and use the shovel to dig up the center of the area to find a Treasure Map.Optional: Treasure Map #19


At the far west of the Isle of Frost, you will see a treasure chest on one of the higher ledges. Climb up the steps that are nearby and grapple over to the treasure chest. Open it up to get the Wisdom Gem.Optional: Wisdom Gem #14


After completing the Temple of Ice, you will soon get a letter from Aroo. He will thank you for helping him out and will reward you with a Wisdom Gem as a sign of thanks. You will have to save your game and reload it to trigger this event to happen.Optional: Wisdom Gem #15


Return to Goron Island and make your way over to the Goron that was scared of the Yellow ChuChu on the cliff. From the bridge in near the south-central part of the island, head north and around the pathway to find this Goron. From here, use the Grappling Hook on the rock to reach a platform. Then walk over to the nearby treasure chest and get the Courage Gem.Optional: Courage Gem #12


Return to the Isle of Ember and make your way to the northwest part of the island. There is a small island with a treasure chest on it. Grapple on over and open the treasure chest to get a Courage Gem.Optional: Courage Gem #13


Return to Molida Island and enter the cave at the east end of the island. Climb the steps and jump across the platforms heading eastward. When you are at the easternmost higher platform, don’t jump down. Instead, use your grappling hook to grab onto the treasure chest on the higher platform to the east. Open it up to get a Power Gem.Optional: Power Gem #14


Make your way over to the east end of Molida Island. There is a stone tablet here and if you look across the water to the east, you will find a barrel. Use the grappling hook on the barrel and the stone tablet. Link will grab the barrel and break it on the tablet, revealing a Cucco. Grab the Cucco and fly over to the island. Then fly down to the next island and just below the tree, you’ll find a spot where you can dig. Use the shovel to dig up the Treasure Map.Optional: Treasure Map #20


Just west of the Temple of Courage on Molida Island, you will find a wooden peg, along with another wooden peg on the nearby island. Create a tightrope and then walk across it. Open the treasure chest to get the Courage Gem.Optional: Courage Gem #14


Make your way over to Spirit Island and walk to the east. Just to the right of the treasure chest, you can Grapple across to a wooden peg. Make your way around the island, using arrows to defeat the many Octoroks. At the right side of the area you will encounter a pair of Like-Likes and also two Rupee-Likes. Defeat them with bombs or arrows and then open the treasure chest to get the Power Gem.Optional: Power Gem #15


Return to Bannan Island in the Northwest Quadrant. Once you arrive, you’ll find there is a small island right near the dock. Grapple over to the treasure chest and open it up to get a Power Gem.Optional: Power Gem #16


Over at the Anouki Estates, one of the Gossip Stones gave you a hint about a Treasure near the Old Wayfarer’s Hut. Use your Shovel and dig up the soil that is directly to the left of the sign in front of the Old Wayfarer’s Hut to find a Treasure Map.Optional: Treasure Map #21


Make your way to the northeast portion of Bannan Island. Use the Grappling Hook to create a tight rope and make your way over to the large island. Open the two treasure chests here, one containing a Big Green Rupee, and other holding a Courage Gem.Optional: Courage Gem #15


On the island at the northeast portion of Bannan Island, you’ll find two wooden pegs. You can create a tightrope and slingshot yourself over to a smaller island that has three stone tablets. Read all three of them and you’ll get a hint to dig between the two treasure chests. Go back to the large island and dig between the treasure chest to get a Treasure Map.Optional: Treasure Map #22


Return to the Uncharted Island and re-enter the cave where you met the Golden Chief Cylos. On the east side of the room, create a tightrope using the two wooden pegs. Walk across and open the treasure chest to get a Courage Gem.Optional: Courage Gem #16


There were four Treasure Maps that we collected and we can now collect three of those corresponding Sunken Treasures. One of the Sunken Treasures is east of Bannan Island and we still need to get the Northeastern Quadrant Sea Chart before we can reach that area. Sunken Treasure #19 – Northwest Quadrant – Northeast of the Isle of Gust, the treasure contains a ship part. Sunken Treasure #21 – Southwest Quadrant – Northwest of Molida Island, the treasure contains a ship part. Sunken Treasure #22 – Southeast Quadrant – South of Harrow Island, the treasure contains a ship part.Optional: Sunken Treasure
- Chapter 1 – Mercay Island
- Chapter 2 – Temple of Fire
- Chapter 3 – Ocean King Part II
- Chapter 4 – Temple of Wind
- Chapter 5 – Ocean King Part III
- Chapter 6 – Temple of Courage
- Chapter 7 – Ghost Ship
- Chapter 8 – Ocean King Part IV
- Chapter 9 – Goron Temple
- Chapter 10 – Temple of Ice
- Chapter 11 – Ocean King Part V
- Chapter 12 – Mutoh’s Temple
- Chapter 13 – Ocean King Part VI


