| Chapter 12 - Drowning Hyrule |
| This chapter of the walkthrough guides you through Ganon's Tower to the fight with the final boss so that you can beat the game. |
|
| 12.1 Preparing for the Tower |
| |
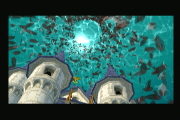
Destroying the barrier |
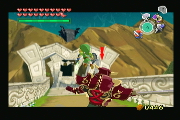
To the tower! |
|
- Link will start running to the back of the castle, so head outside and down the path. About halfway across the bridge you should see a clear purple substance blocking your path. Use to Master Sword to get rid of it and continue along the path.
- The path is pretty straightforward, just kill the enemies along the way. Once you kill the Darknut at the top, use the boomerang to kill the Keese hanging under the targets, then use your Hookshot to get to the targets and into the Tower itself. |
|
| 12.2 Ghosts From the Past |
| |
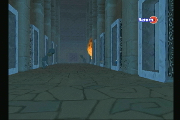
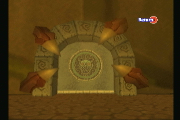
| - Head straight down this hallway and through the door at the end. You'll notice the door across from you has four images on it. We need to light them all up in order to continue through it. Head across the bridge, then take the first wooden bridge on your left, killing the Bokoblin and heading through the door.
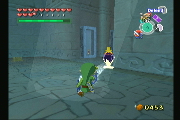
- The easiest way to approach this room is to first use your bow to shoot all the skulls off of the top of the spiked vines to kill all the Red Bubbles before they become a threat. Then use your Grappling Hook to get across the room.
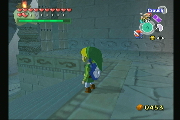
- The easiest way that I've found to do this is to grapple, climb to the top, then jump and use the Deku Leaf. Adjust the camera so you can see below you, then drop onto the hardened lava spots. You have to do this for the last one anyway.
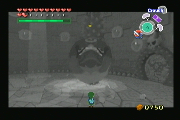
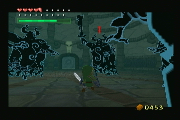
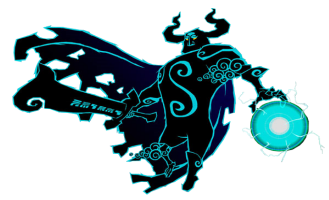
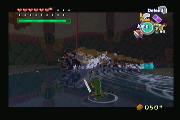
- Once you've made your way across the room, head through the door on the opposite side and some familiar music should begin to play. It's Gohma! You have the same items you did when you were in Dragon Roost plus all your bottles. Defeat Gohma the same way and you'll be transported back and her image will light up. Three to go. |
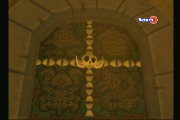
Door with pictures |
Head through this way |
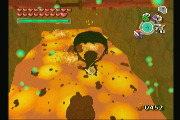
Getting through the room |
A black and white Gohma |
|
The second room |
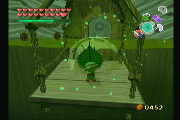
Riding the cart |
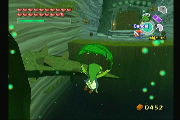
Floating to the door |
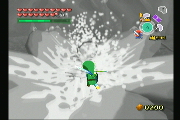
We meet again Kalle Demos |
|
- Now go across the bridge in front of you and to the left, heading through the door on the other side. Use the Deku Leaf to activate the propeller and hop onto the cart. Hit the propeller again to go back across then jump onto the moving platform.
- When the platform is at its low point hit the switch behind the giant vine near the wall to get the other cart over to you. Jump onto it from the high point and blow your way back over to the other platforms.
- Hop across these platforms and jump from the highest one, using the Deku Leaf to float across to the other side. Be weary of the Peahats though, they'll try to knock you out of the air.
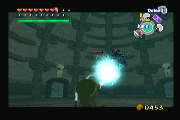
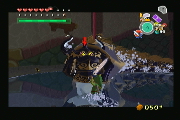
- Once you're across break the nuts for some magic and head through the door. Kalle Demos is back, again in black and white. Defeat him in the same manner you did before and you'll be warped out, lighting up Kalle Demos's image. |
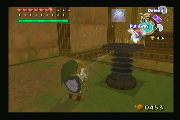
Shoot the Wizzrobe |
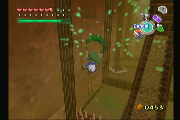
Clearing the spikes |
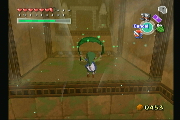
Jump through the cyclones |
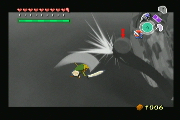
Molgera in black and white |
|
- Head through the last door, the one behind you and to your right. Kill the Wizzrobe in here with an ice arrow, then use your Deku Leaf and Iron boots on the spring pad to get over the spikes.
- Climb up and avoid the blade trap while getting closer to the two spinning cyclones. Jump right between them, using the Deku Leaf to clear the gap Kill the two Green Bokoblins that appear and then hookshot your way to the top. Head through the door.
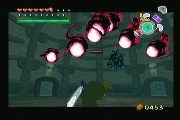
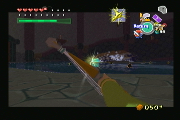
- Defeat Molgera as you did in the Wind Temple and you'll be transported to the main room once more. Molgera's image will light up and the door will crumble, leaving a path for you to take to get further into the Tower.
- Head through this newly opened path to dive deeper into the Tower and continue along the quest to save Princess Zelda. |
|
| 12.3 The Maze |
|
New Item:
Light Arrow |
Ganon's Tower |
|
 - The light arrow has the power to pierce pure evil itself. They can be used to kill almost any enemy in one hit, but they use a lot of magic power. - The light arrow has the power to pierce pure evil itself. They can be used to kill almost any enemy in one hit, but they use a lot of magic power.
View Full Item Description |
|
|
- Once Phantom Ganon is defeated, pick up his sword and hit the brick wall with it. It will explode into dust, allowing you to continue through the tower. If you need anything before approaching Ganondorf, I'd suggest you leave now and stock up. |
|
| 12.4 The Showdown |
| |
| - Inside the final stretch of the tower, break the pots on either side of you for some arrows and some magic. Head up the stairs and you'll encounter a moblin. Kill him and break the pots here for some more magic.
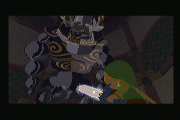
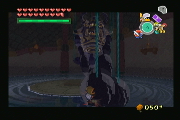
- Continue up the stairs and you'll find a Shielded Darknut waiting for you on the next landing. Break the pots here for some hearts and magic, then continue up the stairs to meet two more moblins. Break the pots for some magic and head up the final set of stairs to meet two Mighty Darknuts.
- Once they are defeated the bar over the door will lift, allowing you to enter. Break the pots for some last minute items and hearts, then head through the door.
- Link enters the room to see a raised area in the middle. He begins walking to it and sees Zelda lying on the bed. Ganondorf tells Link of Zelda's dreams and the the gods destroyed Hyrule. He's been waiting for Link, then begins a grotesque transformation into... a puppet? |
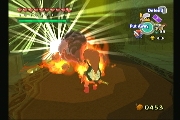
Moblins |
Darknuts |
The chamber |
He's transforming! |
|
|
Puppet Ganon |
|
Threat:
|
Attacks:
Variable |
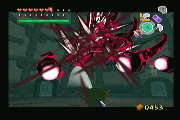
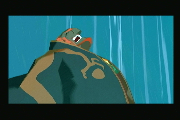
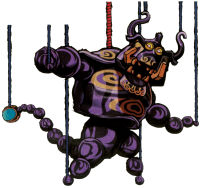 - Puppet Ganon is Ganondorf's last defense for himself. This gigantic puppet-like creature attacks Link and tries to destroy him before he can get to Ganondorf. The main weapons you'll want for this fight are the Light Arrows and the boomerang. There are three separate stages to this battle, so we'll cover them each separately below. - Puppet Ganon is Ganondorf's last defense for himself. This gigantic puppet-like creature attacks Link and tries to destroy him before he can get to Ganondorf. The main weapons you'll want for this fight are the Light Arrows and the boomerang. There are three separate stages to this battle, so we'll cover them each separately below.
|
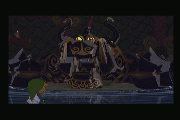
Spider Form |
|
Threat:
|
Attacks:
 Body Slam Body Slam |
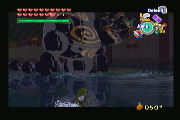
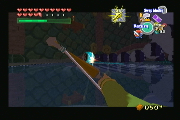
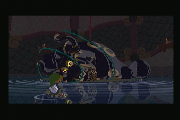
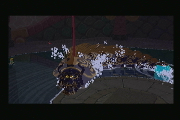
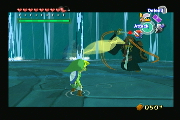
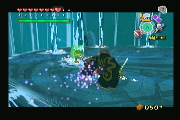
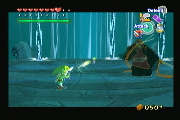
- The next stage of Puppet Ganon is the easiest. He'll spin around at the top of the room, then drop down trying to crush you. If you use the free camera mode and look at the water you can see where the orb will be and run to that area before he lands. When he does, just pull out your bow and shoot him in the orb with a light arrow. Simple as that.
Three times and he'll make his final transformation.
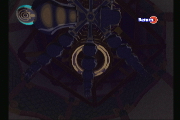
Spinning in circles |
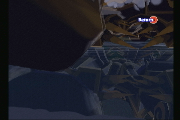
Watch the water |
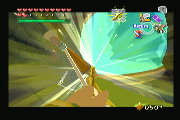
Shoot the orb |
Another transformation |
|
Summary:
- Wait for the body slam attack and run to where the orb will be. Shoot it with a light arrow once he lands. |
|
|
Summary:
- Puppet Ganon has three separate transformations. Shoot the blue orb in each one of these transformations three times to defeat them, and ultimately, Puppet Ganon. |
|
| - With Puppet Ganon defeated, Ganondorf says that you are surely the Hero of Time reborn. He tells you to come and face him and flees to the top of the tower.
- A rope will be left in the center of the room. Jump off of the middle square to reach it and climb to the top. Once there you should notice another section that you can use the grappling hook to reach. Do so and climb that section as well.
- In the middle of this area there are some pots you can break for some magic and hearts. There is also another grapple point almost opposite where you climbed up.
- Climb this point too and burn the top off of the pot with a fire arrow. Work your way around towards the large area out of the wall and use your hookshot to reach it. Head outside. |
String hanging in the room |
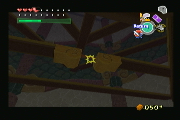
Grapple point |
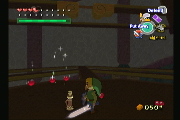
Breaking pots for hearts |
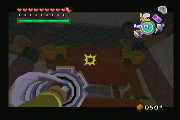
Hookshot to the ledge |
|
| - Ganondorf tells you the story of his homeland and how wind carried death whenever it came. He tells you that the winds blowing across Hyrule carried something else, and that he coveted them. He lunges at Link and violently attacks him, knocking the Master Sword from him. He picks up Link and summons the Triforce so that he make make his wish.
- Suddenly, the King of Hyrule appears and touches the Triforce before Ganondorf is able to reach it. He wishes that Link and Zelda have hope, a future. He wishes for Hyrule to be washed away and for hope to shine forth, and to let their destinies be fulfilled. Ganondorf laughs as water begins to pour down into Hyrule and says there is no future for them. Zelda arises and gives Link the Master Sword and takes your bow. |
| - Ganondorf says the wind is blowing and turns to stone. Link is exhausted and collapses. Zelda catches him and the king tells you to listen to him. He tells you he regrets the past and wishes he could do things over again. He lives bound to Hyrule, and in the sense, was the same as Ganondorf.
- He wants you to live for the future and tells you to look forwards and walk a path of hope. He bids you farewell and asks for your forgiveness. Zelda asks the king to come with and says the sea will be the next Hyrule. The king tells her it will not be Hyrule, but it will be your land.
- The gods grant the King’s wish and Hyrule is flooded. Link and Zelda float up to the surface and the king tells you he has scattered the seeds of the future. Link and Zelda wake up floating in the ocean and Komali finds them. The pirates find them as well and everyone is happy.
- Congratulations, you’ve just beaten The Legend of Zelda: The Wind Waker, now enjoy the ending credits. |
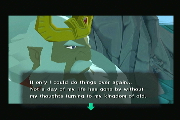
Living in the past |
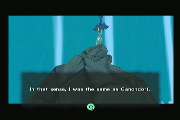
Longing for the old Hyrule |
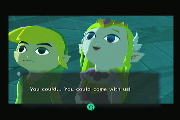
Zelda asking the King to come live with them |
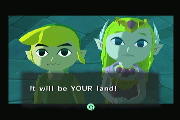
But that land will not be Hyrule |
The King fading away |
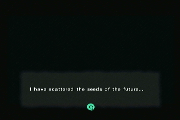
Life has been scattered above the sea |
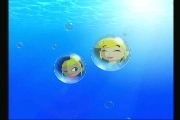
Tetra and Link |
The End! |
|
|
