This chapter covers the Nintendo Switch version of Link’s Awakening. If you are playing the Game Boy Color version, check out the Eagle’s Tower Walkthrough.
- Chapter 1 – Tail Cave
- Chapter 2 – Bottle Grotto
- Chapter 3 – Key Cavern
- Chapter 4 – Angler’s Tunnel
- Chapter 5 – Catfish’s Maw
- Chapter 6 – Face Shrine
- Chapter 7 – Eagle’s Tower
- Chapter 8 – Turtle Rock
- Chapter 9 – The Awakening
7.1 The Legendary Rooster
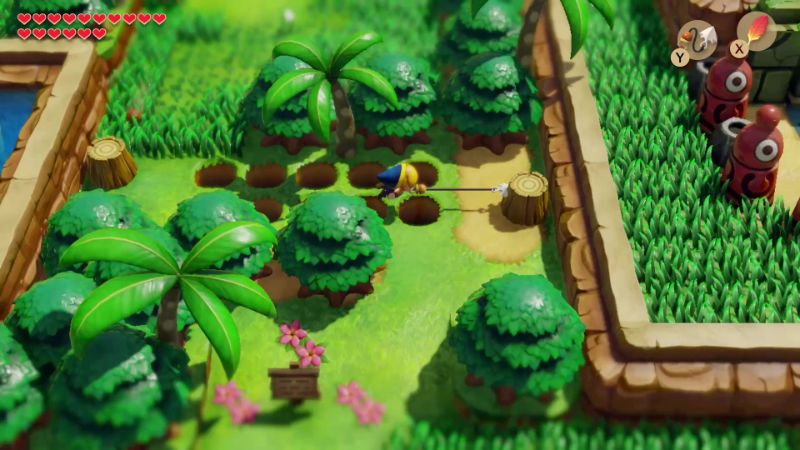
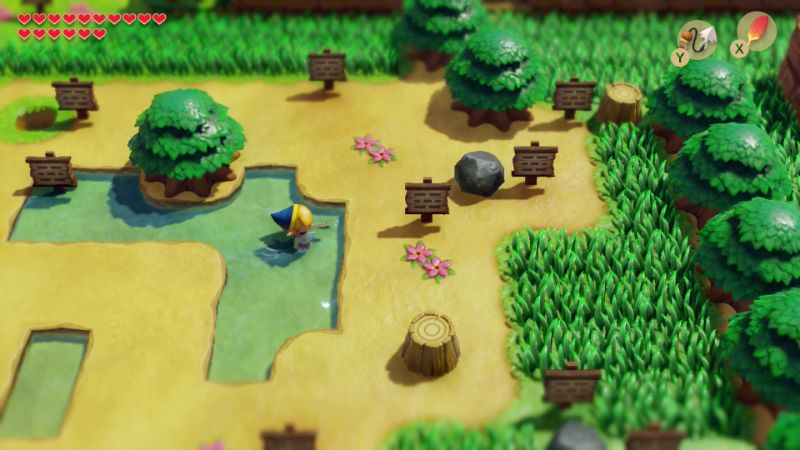
Make your way over to Mabe Village and then exit the town to the right. Walk to the south and there are a series of holes that you need to cross. Use the Hookshot to grapple across to enter the Signpost Maze. Throughout the Signpost Maze you have the follow the signs precisely how they are displayed. From this first sign, walk in a straight path down to the next sign.
You have to travel across this area, moving in an extra straight line from wherever the previous sign post tells you to go. You’ll have to lift some rocks, as well as use your Hookshot to reach the southwest corner. After talking to all of the sign post, it will say, ‘GREAT, YOU DID IT! YOUR REWARD IS –> THIS WAY!’ A staircase will appear on the screen, so head down.
There are two small frogs and a giant frog in this underground cave. The giant frog is a reference to Wart, the final boss in the American version of Super Mario Bros 2. Speak with Mamu, the big frog and he talks about his vocal ability. He gives you a chance to listen to him sing at the cost of 300 rupees. Agree to do so and the Frog will sing a song. The screen will blink as the Frogs sing their song. Afterwards, the Frog’s Song of Soul will now be a learned song on your Ocarina. It’s a very moving tune, and it can even liven up unliving things! Before leaving, Mamu gives a you hint that you can make everything around you seem more alive when using this song.


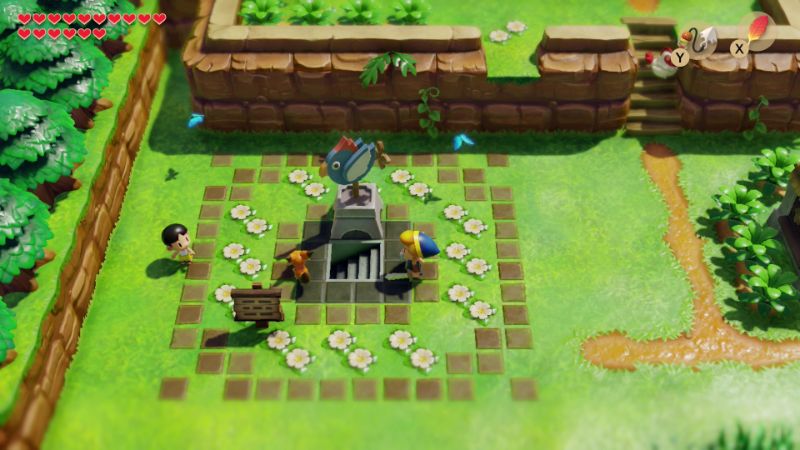
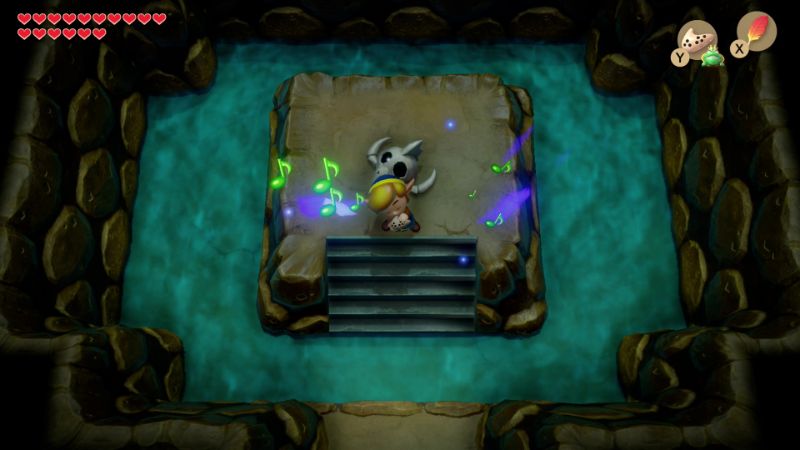
Return to Mabe Village and walk over to the center of town where Marin was earlier in the game. Now that we have the level 2 power bracelet we can move the giant bird statue in the center of town. Push it up and then head down the steps that were underneath the statue. Walk up a screen to find a pile of bones on the ground. Pull out the Ocarina and play the Frog’s Song of Soul to bring the Rooster back from the dead. The blue rooster will now follow you around, much like Bow-Wow and Marin earlier in the game. Exit the cave.
Before progressing onward, there are a few goodies for us to collect in town and the surrounding area.
Return to the Fishing Pond in Mabe Village. After completing Face Shrine some new fish will occasionally appear, one of which is a Cheep-Cheep. Catch a cheep-cheep and you will be awarded with a Secret Seashell.Optional: Secret Seashell #42
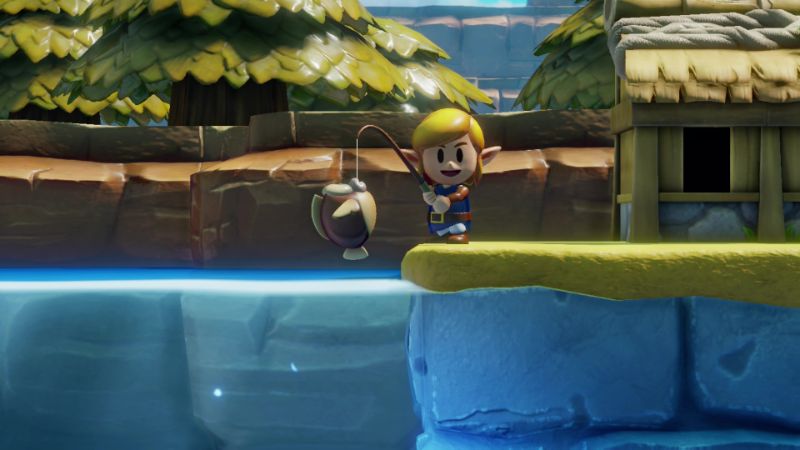

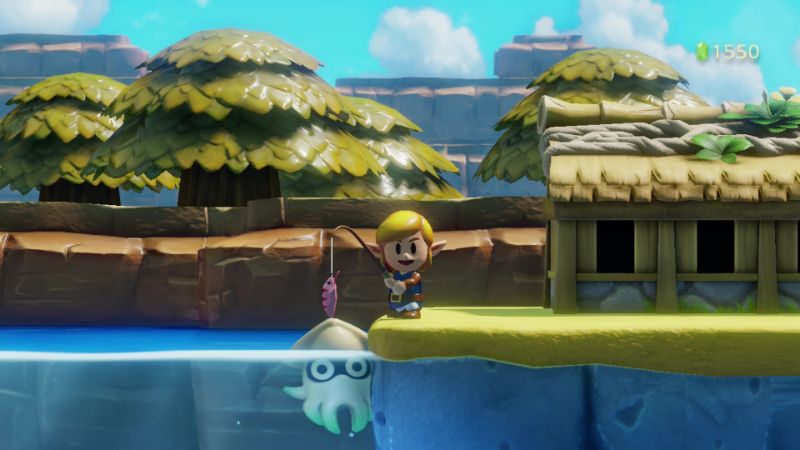
Also after completing Face Shrine, a Blooper will appear at the Fishing Pond. While it’s movement looks awkward, the mechanics are the same as a regular fish. When it is pulling away, let it go and don’t try to reel him in. Then, once its settled down, slowly reel him in. After catching a Blooper you will get a heavyweight lure, as well as another secret seashell.Optional: Secret Seashell #43

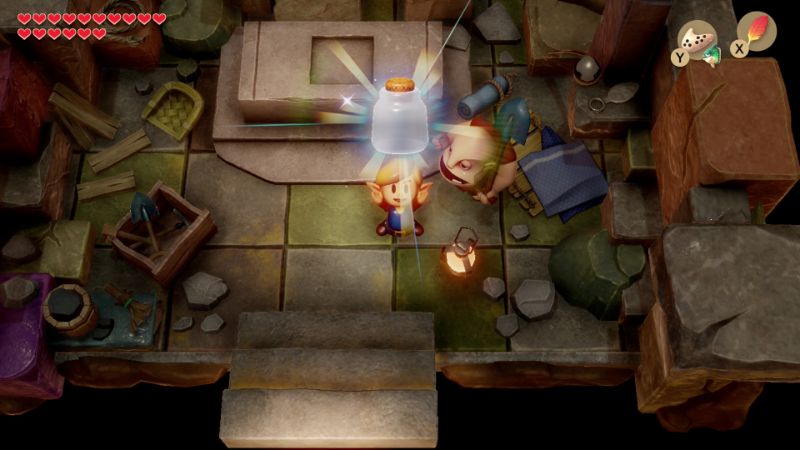
After completing Face Shrine, return to Dampe’s Shack and you can take on a few more adventures. After arranging and the completing Heart Shortage, Dampe will award Link with a Fairy Bottle.Optional: Fairy Bottle #3
7.2 Tal Tal Mountain Range
Our next stop is all the way at the north part of Koholint Island on the Tal Tal Mountain Range. Play Manbo’s Mambo to warp near the mountain. From Dampe’s Shack, travel northward to climb the mountain, just as we earlier in the game. You’ll find the owl here once again and he tells you to head east. Lift the rocks on this screen and enter the cave.
We have been through this cave earlier in the quest, so make your way through the first area and head down the steps. Continue right and walk up the steps here. You’ll see that piece of heart once again, and we will be getting it soon, but not quite yet. Walk to the right and you can use the rooster or the hookshot to get over to the treasure chest found here. Open it up to get 50 rupees. hookshot back over, use the pegasus boots to head right and then exit the cave.
Once you are back outside on the Tal Tal Mountain Range, travel eastward until you reach the deep water and the large ladder. Just to the right near the waterfall, dive down below to find a Secret Seashell.Optional: Secret Seashell #44
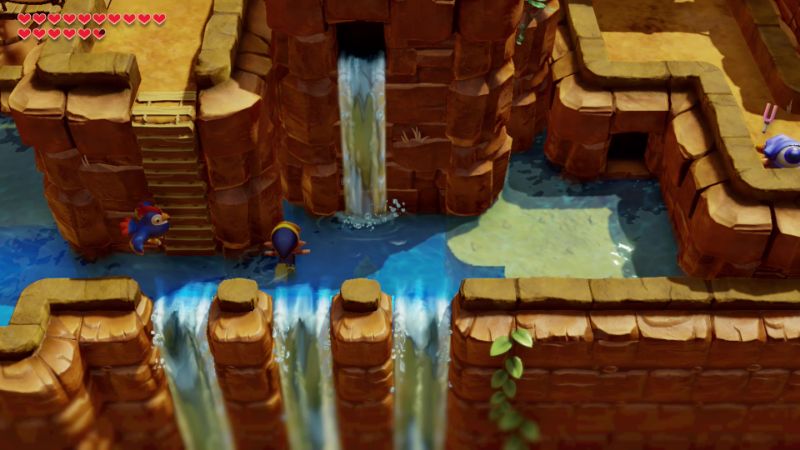
Climb up the tall ladder on the Tal Tal Mountain Range and then head westward. Cross the bridge and then head up the steps where there is a building. Just to the west, there is a broken bridge and south of it there is a small hole. Stand on the bridge and toss a bomb into the hole to get a Secret Seashell to pop out.Optional: Secret Seashell #45
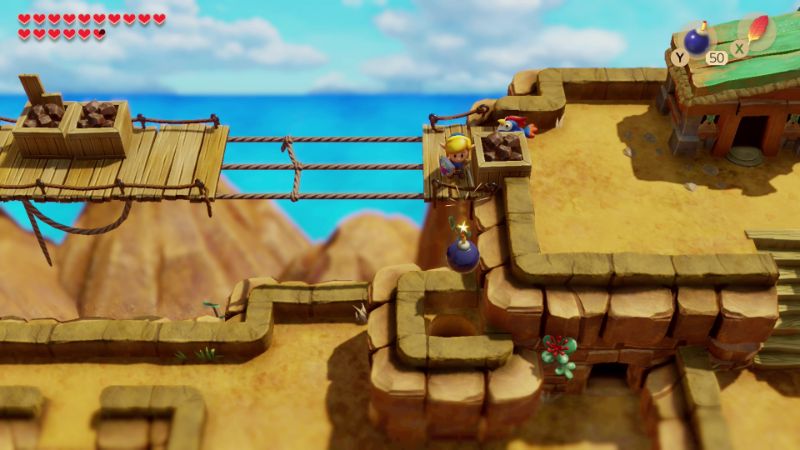
From the building at the north end of the Tal Tal Mountain Range, head east and cross the bridge. There are three rocks here and the one in the top-right corner holds a Secret Seashell, so be sure to snag it.Optional: Secret Seashell #46

Once you arrive on the Tal Tal Mountain Range, travel east until you are at the deep water and then climb the tall ladder. Walk to the west and enter the cave found here, which is just south of the lone building. Inside use the Blue Cucco that is following you to fly up to the north end of the room and head up. Once again use the Blue Cucco to fly across the large gap and at the end you’ll find the Bird Key. Grab it and then exit the cave.

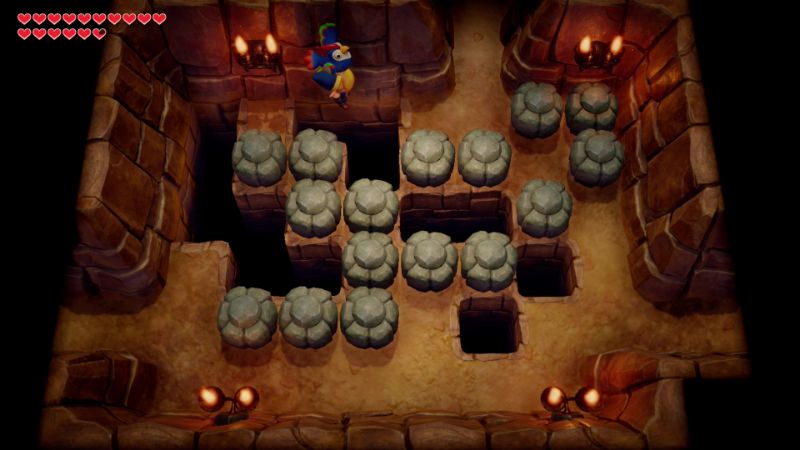
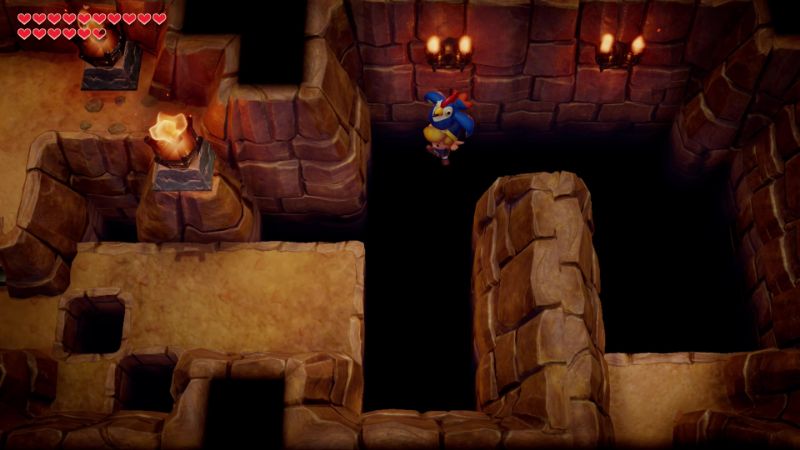
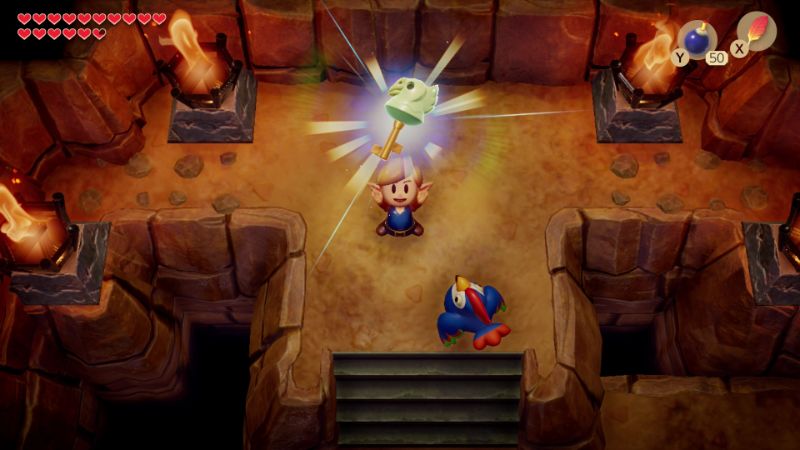
Walk back right across the bridge, climb down the ladder, and then enter the cave on the right.
Inside the cave that leads towards Eagle’s Tower, you can use a bomb to blowup the north wall. Climb up steps here and then head down a screen. Avoid the treasure chests for now and push the blocks out of the way. Exit the cave and open the chest to get the seashell.Optional: Secret Seashell #47
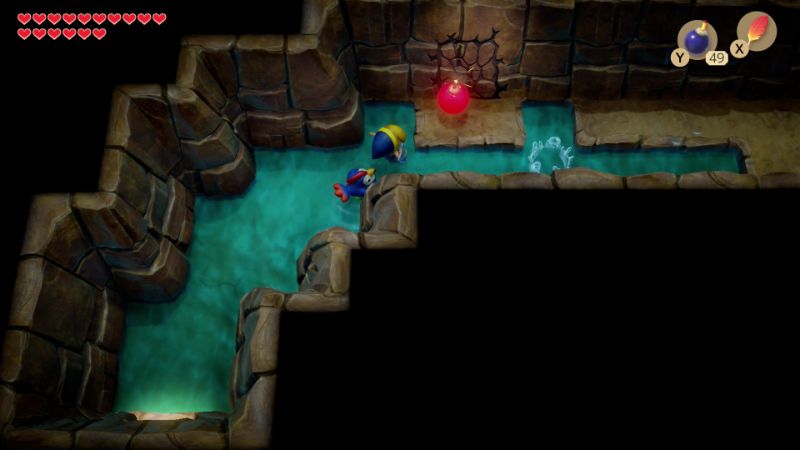
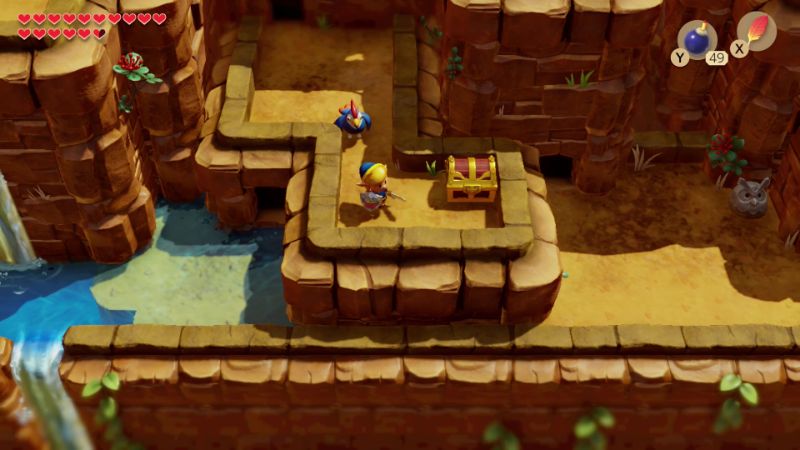
There are a number of treasure chests here that you can open, but the trick is you need to open all five of them in order to get the reward. To do so, exit the cave to the south and then reenter. From the south entrance, you can push all the blocks so that you can open all five treasure chests.Optional: Extra Rupees

Backtrack to where you blew-up the wall and head east to exit the cave. Walk up to the Owl Statue, which states, “You are near the Eagle’s Tower. Beware of the bird!” This is actually one of the few owl statues that isn’t as cryptic as the rest of them, since Eagle’s Tower is bound to have a bird in it. Climb the steps and enter the cave found here.
Make your way right through this straight forward cave and exit on the other side. Walk left and re-enter the same cave from another location. Walk right and head down the steps. Jump over the gap, climb the steps, and head to the right. Continue down and then use the hookshot to get across the gap. Jump off the ledge and exit the cave.
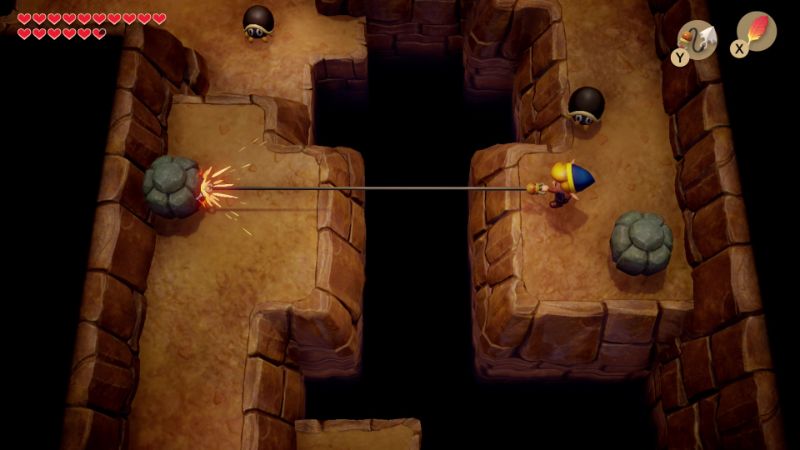
There is a cracked wall that you can see at the bottom of the screen. You can place a bomb if you’d like, as inside you will find a fairy fountain. Additionally, there is an area here that you can dig with your shovel. This will reveal a warp point, making it easier to travel through the Tal Tal Mountain Range if you need to return back here. Afterwards, enter the cave on the right side of the screen. Make your way through this very linear cave and exit on the other end to get back outside.
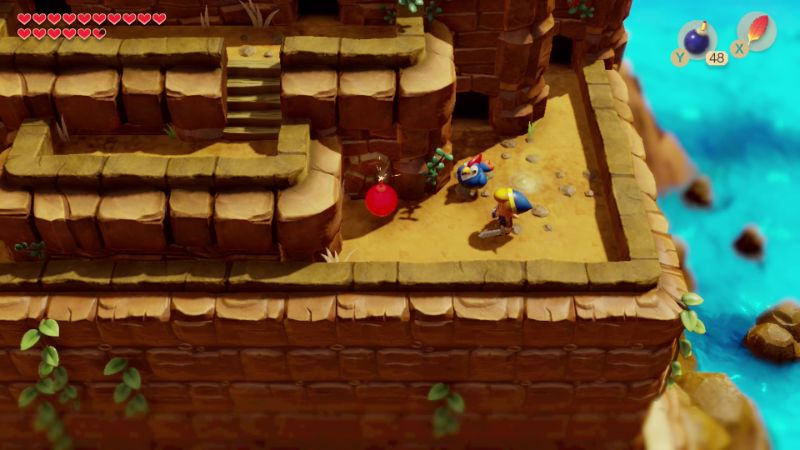
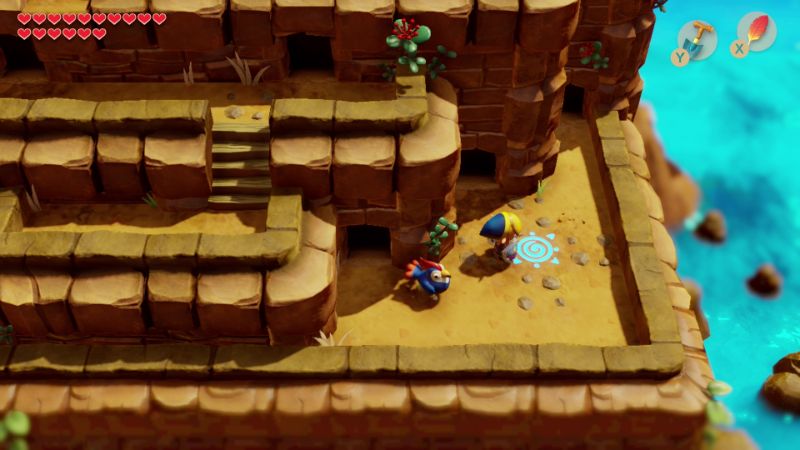
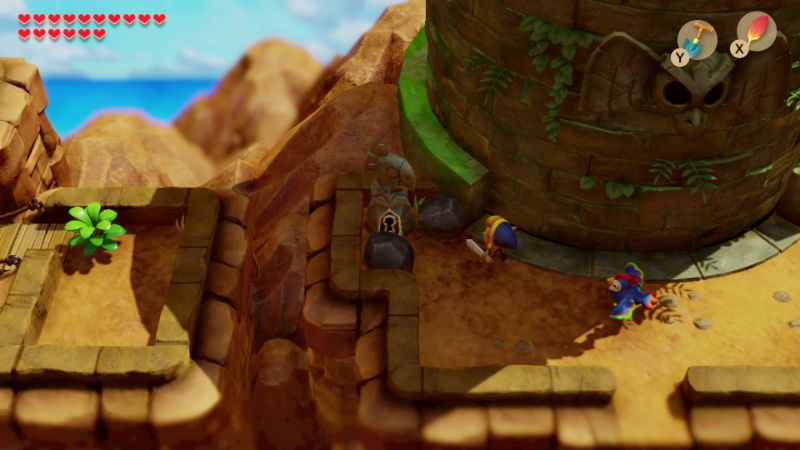
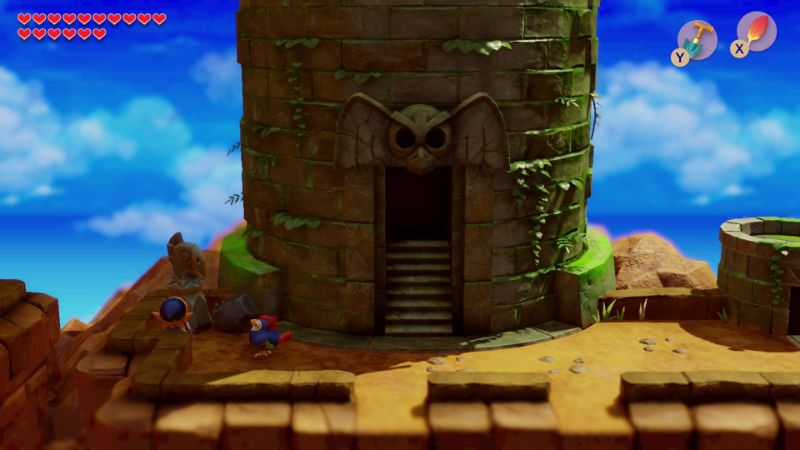
Walk left to find yourself at the entrance of Eagle’s Tower. Lift the rock on the left side and place the Bird Key into the lock. Eagle’s Tower will spin around, revealing the entrance. Climb the steps to enter the 7th dungeon, Eagle’s Tower.
7.3 Eagle's Tower
Eagle’s Tower is one of the toughest dungeons in the game, much for the reason that it has so many rooms. If you play through without using a walkthrough, you’ll find yourself backtracking quite often throughout the level. The basic idea is that the second floor of the dungeon has four massive pillars that are holding up the floors above. You will need to use the large ball that we’ll find to knock down these four pillars and access the upper portions of the dungeon.
From the dungeon entrance, walk to the right a screen. Use the roc’s feather to carefully avoid being hit and then head right another screen. Defeat the two Like-Likes in this room and a small key will drop from the ceiling. Use the key we just got and head through the locked door. Walk up the steps here to reach the second floor.
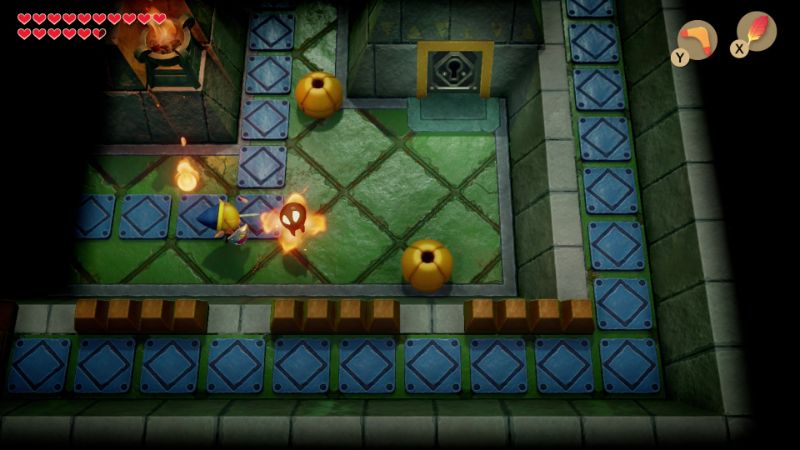
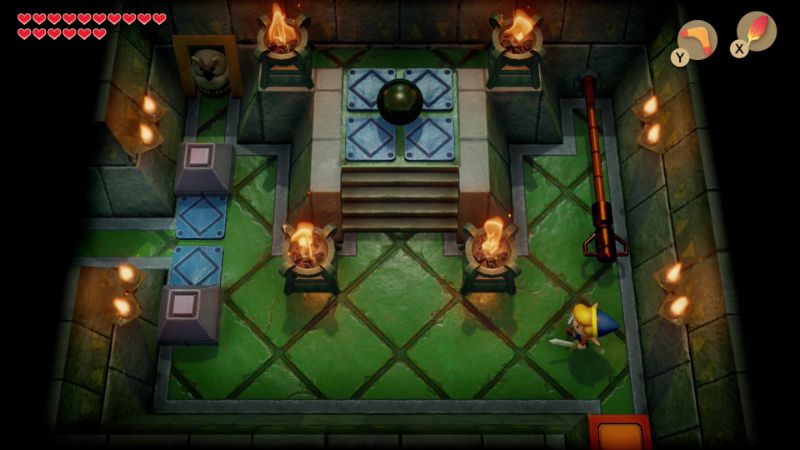
You’ll find a treasure chest on the left side of the room here, but unfortunately the blocks are in your way. Ignore the treasure chest for now and head up a screen.
You’ll find yourself in a room with an owl statue, a large ball, and a lever along the right side of the room. If you are quick enough you can just run to the door on the left before the blocks close. If not, just ignore the ball for now and just use the power bracelet to pull the lever on the right side of the room. The two blocks will spread apart, so quickly run on over and head left a screen. In this next room just walk over to one of the holes and fall down to get back to the floor below.
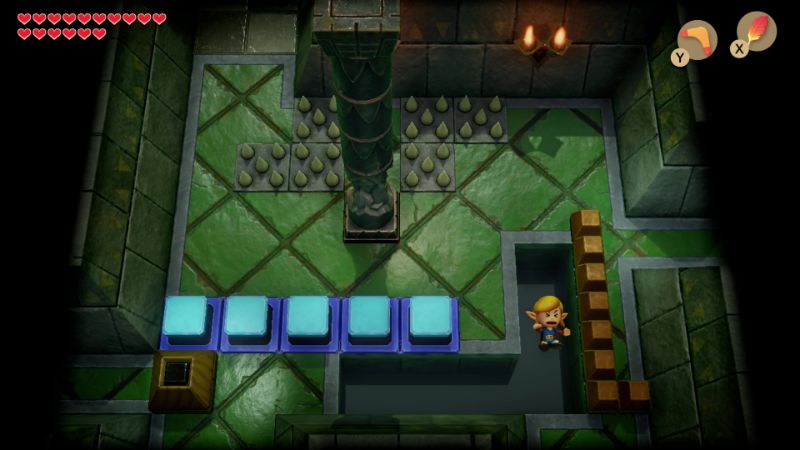
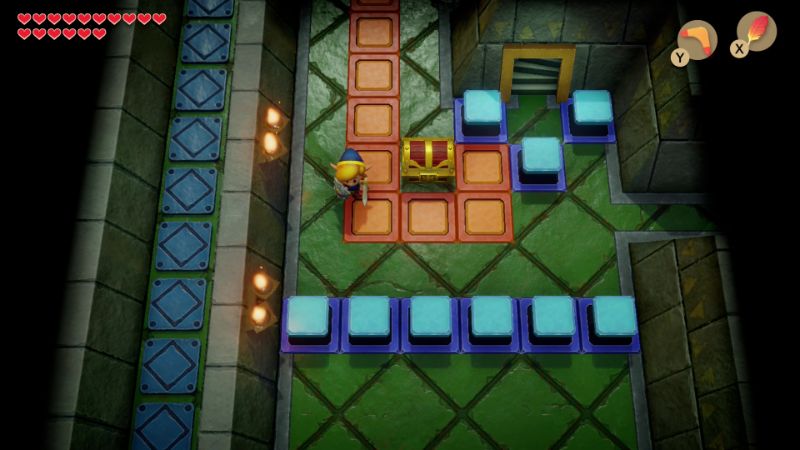
Back on the first floor, defeat all the enemies in the room and then follow the pathway left. Walk down and open the treasure to get the Stone Beak. Backtrack up and then to the right.
Ignore the switch for now and head up to find a new enemy known as an Anti-Kirby. It is basically just Kirby from the Kirby franchise. Either two bombs or four hits with the boomerang will defeat the Kirby enemy. Talk to the owl statue here and it states, “Jump off the floor above to reach the chest on the table.” We’ll surely be using that advice in just a few moments.
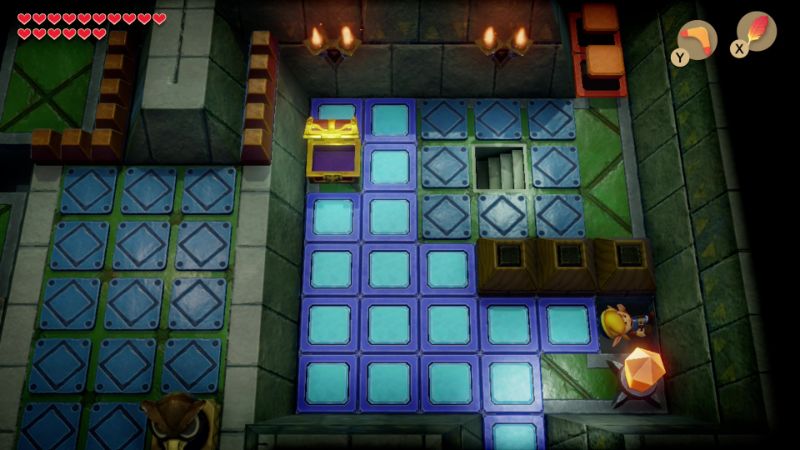
Walk back down and you’ll find a crystal switch that is surrounded by a bunch of spikes. Hit the crystal switch with your sword or a projectile weapon to change which blocks are lowered. With the blocks flipped, head left, down, then right, down, and up along the right side of the room. Climb up the steps here once again to reach the second floor.
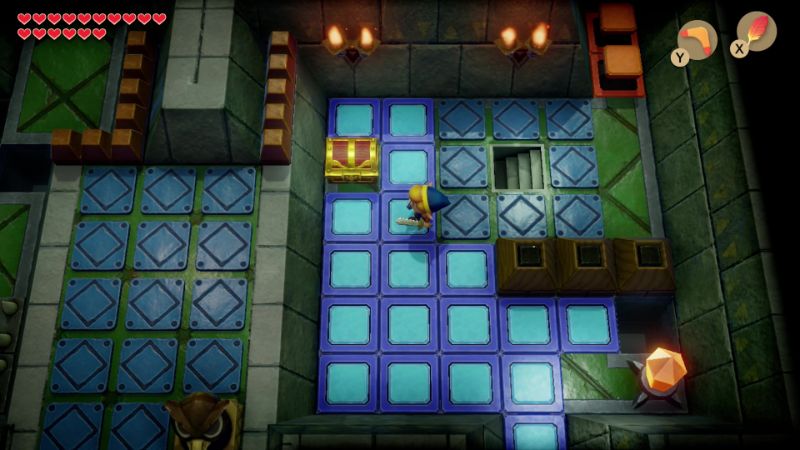
With the blocks now lowered we can now open the treasure chest to get the dungeon item, the Mirror Shield. This will allow you to deflect fireballs and other stronger attacks from certain enemies. With the dungeon item in hand, let’s fall down the small hole on the right side of the room, just as the owl statue stated.
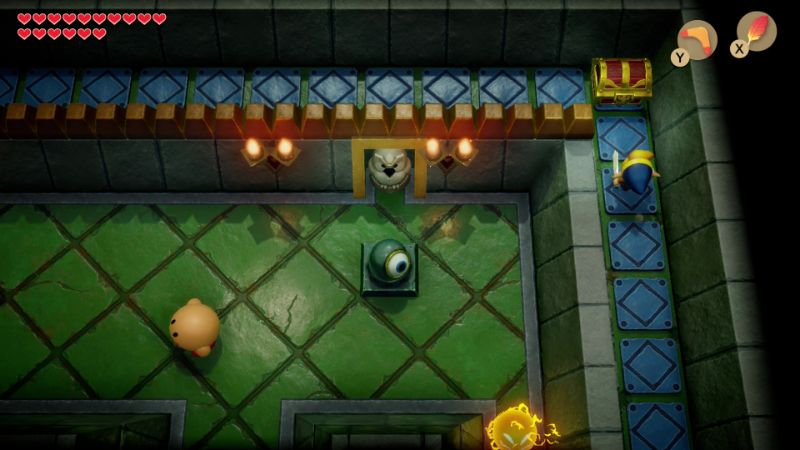
You will now be on the higher ledge of the first floor along the right side. Just walk up two screens and open the treasure chest found here to get a small key. Jump off the ledge, head left a screen, and then climb the steps here.
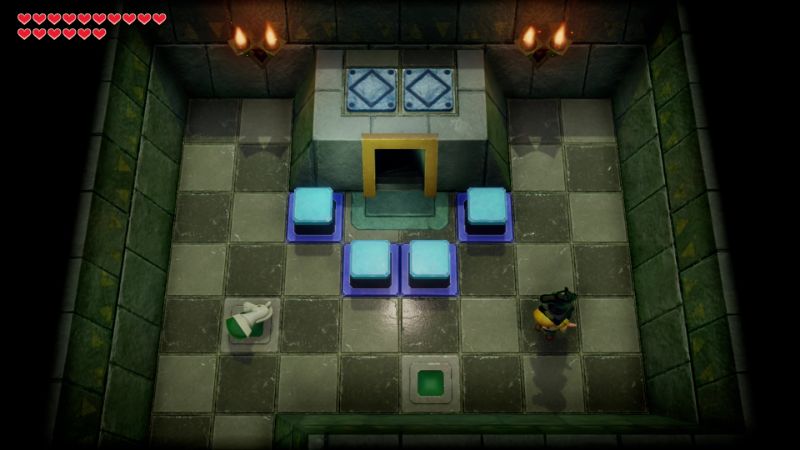
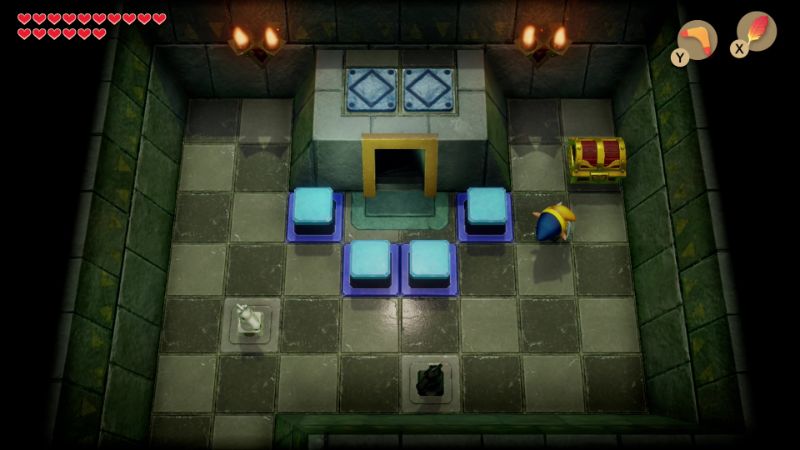
There are two horse heads in this room. Toss the two horse heads in this room so they fit on the holes. Open up the treasure chest that appears to get the Dungeon Map. With the map in hand, let’s head down a screen and right a screen to get back to the room with the large bowling ball.
You can read the owl statue and it states, “The riddle is solved when the pillars fall!” This is in reference to the four pillars that are found on this current floor. You need to take the large ball that is in this room, use the power bracelet to toss it at each of the pillars, causing them to crumble to the ground. So, grab the ball, toss it by the two blocks on the left side of the room. Then quickly pull the lever in the room, run and grab the ball, and then head left to the next room.
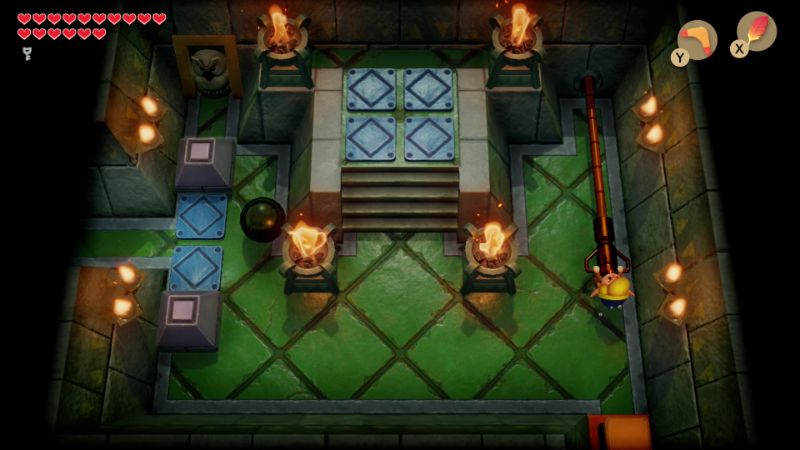
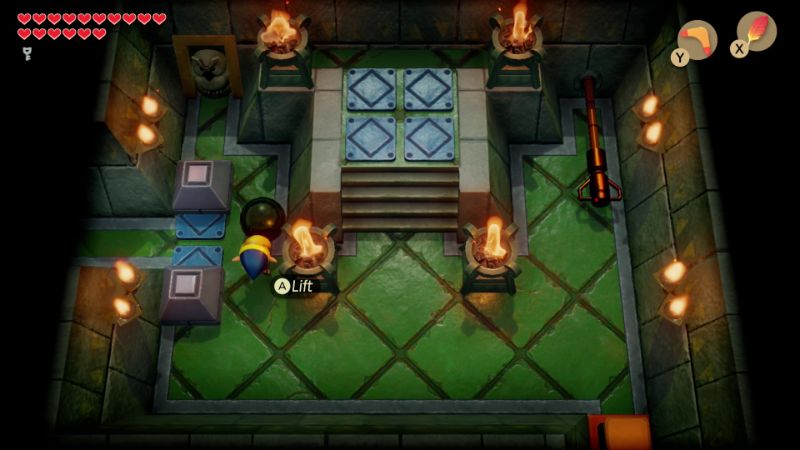
In this room you will find the first of the four pillars. Get rid of the pesky zols that are in this room and then pick up the large bowling ball. Toss it so that it hits the pillar on the right side, causing it to crumble to the floor. Be sure to hit it from the right side so the ball doesn’t fall down into a hole. If it does, the ball will reset in the previous room. With the first pillar knocked down, grab the ball and head down a screen.
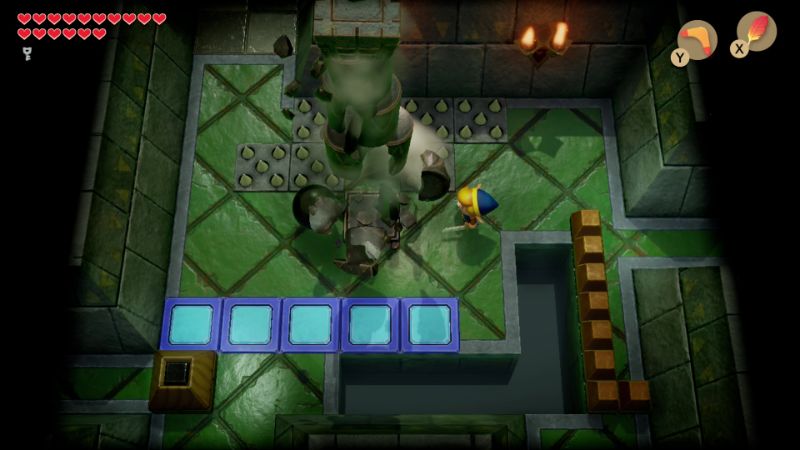
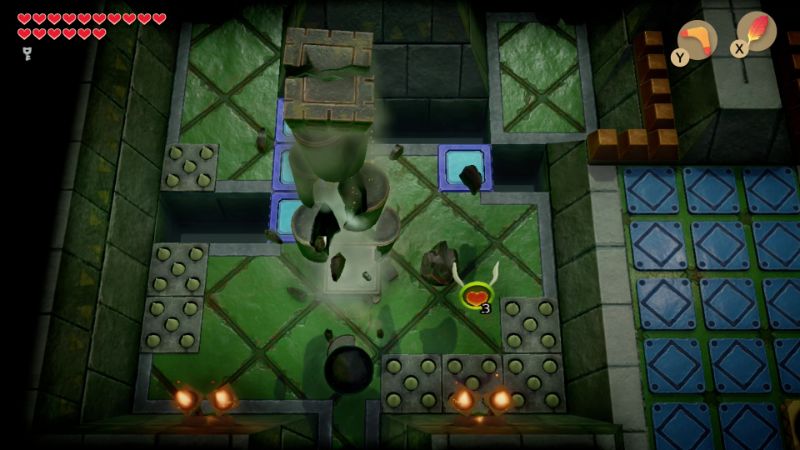
You’ll find the second pillar right here in this room. Use the ball once again and hit this pillar from the bottom part of the screen. Grab the ball and head back up a screen. Push the block that is on the left and then walk left a screen. Get across the spikes and continue up a screen while holding the ball.
In this room you’ll find Three-of-a-Kind enemies. Like we did earlier in the game, hit the enemies so that the same suite is shown. If you’ve successfully hit all three so they land with the same suite, a treasure chest will appear. Open it up to get the dungeon’s Compass. Carry the bowling ball down a screen through the passage on the left. You’ll find the third pillar, but you cannot reach it from here. Instead, just toss the ball over the barrier and let it rest in this room for awhile. Walk back up a screen and head down the steps.
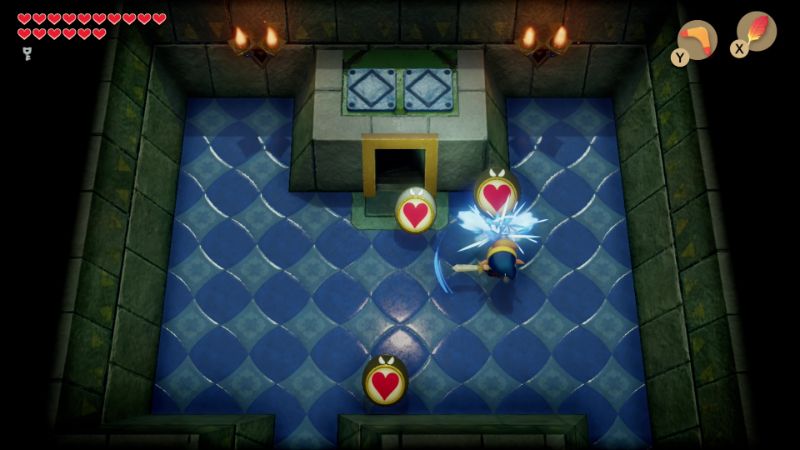

Walk left a screen along the top part of the room and you’ll bump into an anti-kirby. Get rid of it and then head down. With the blocks by the staircase lowered, let’s head down the steps. Once you reach the second floor again, head through the one-way door at the top of the screen. Just stand at the bottom-right corner, holding your shield out to block the floor tiles that fly towards you. Defeat the anti-fairy as well, and once the floor tiles are gone, head right through the door that opens up.

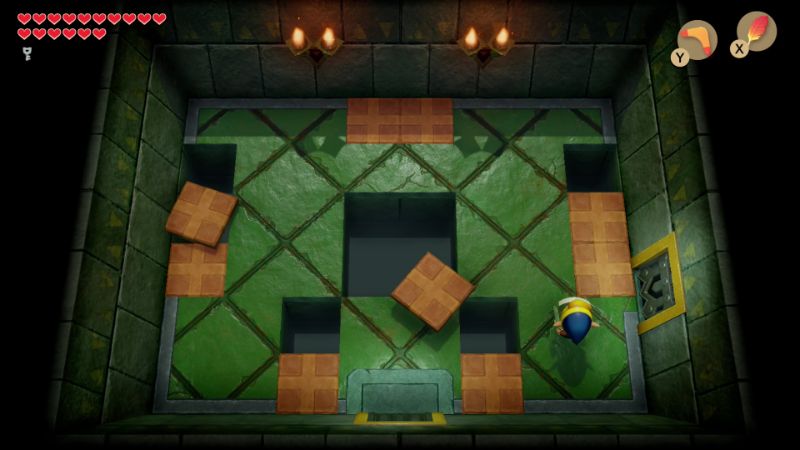
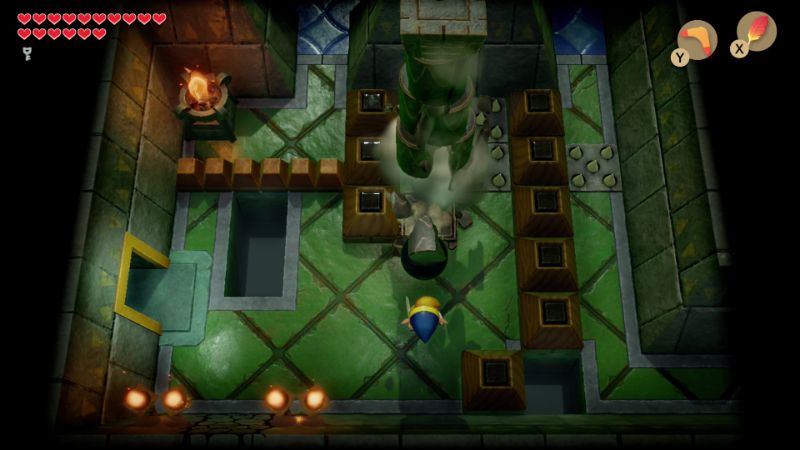
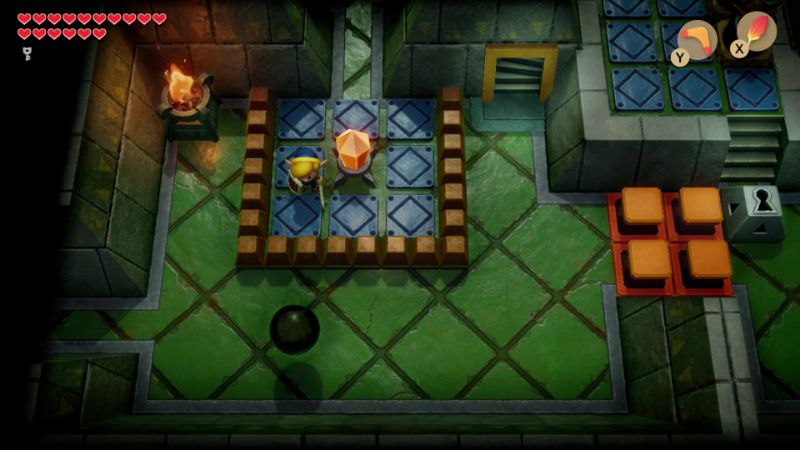
You should now be back in the room where you tossed the bowling ball. Pick it up and toss it at the third pillar in the center of the room. After the pillar crumbles to the ground, push the block at the bottom of the screen into the hole. Pick up the bowling ball and toss it over the gap to the right. Jump over the gap, grab the ball, and head right a screen. Continue down two screens to reach a room with a crystal switch. Toss the ball over the barrier at the bottom of the room.
After tossing the bowling ball in the crystal switch room, backtrack up two screens, left a screen, up a screen, and down the steps. Back on this floor, we have to head down the same path we did before. Walk left, down, and back up the stairs.
This time, let’s head down a screen and you’ll find yourself up against a red hinox. It is a bit stronger than the first hinox we fought, and it will now toss bombs towards you. However, this time around we have the boomerang. Hit the Hinox a few times with the boomerang to defeat him and a small key will drop from the ceiling. The safest place to stand is at the bottom-right part of the room, as the Hinox won’t be able to make his way to you. Grab the small key that is left behind.
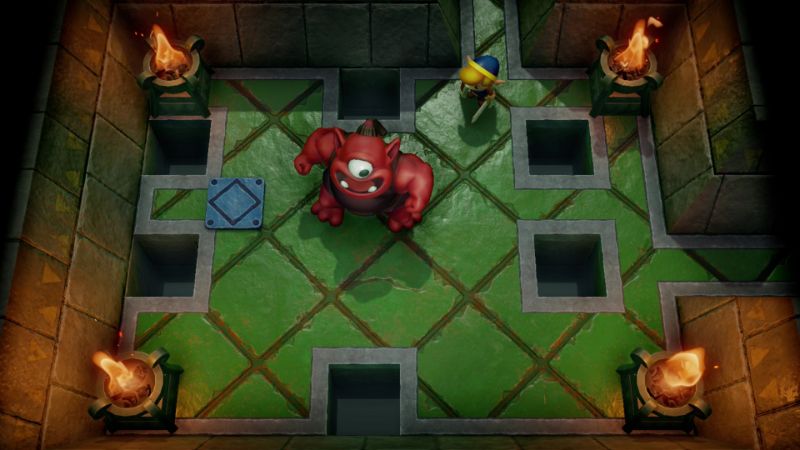
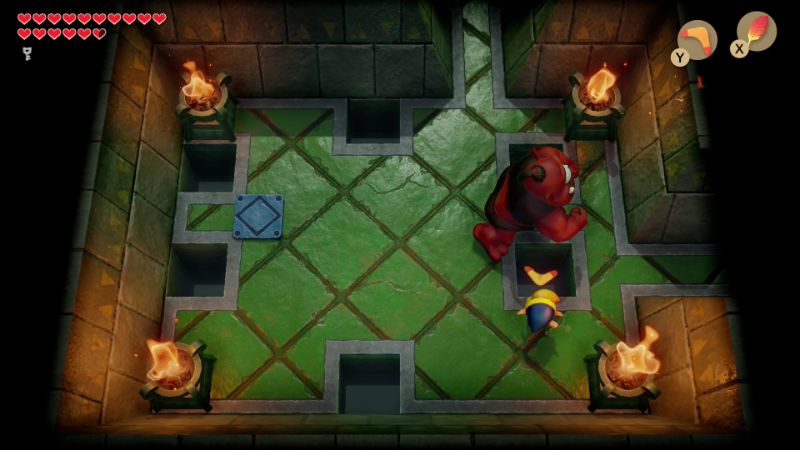
After defeating the Red Hinox, drop down through one of the holes on the left side of the room. You’ll land on the higher ledge of the floor below. From there travel northward to reach a treasure chest that contains the Secret Seashell.Optional: Secret Seashell #48


Backtrack to where we fought the Hinox and head right a screen. Defeat the Three-of-a-Kind enemies and a treasure chest will appear in this room. We’ll be utilizing this treasure chest in just a bit. For now, just walk to the right a screen and you’ll find the bowling ball that we tossed earlier. Grab it and head left a screen.
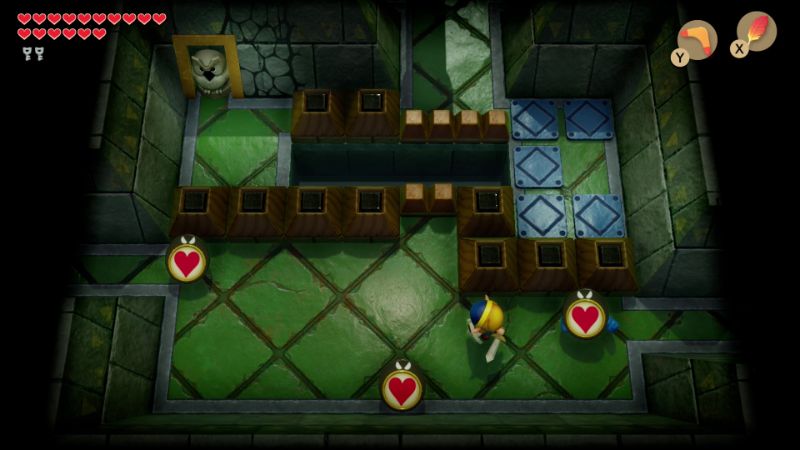
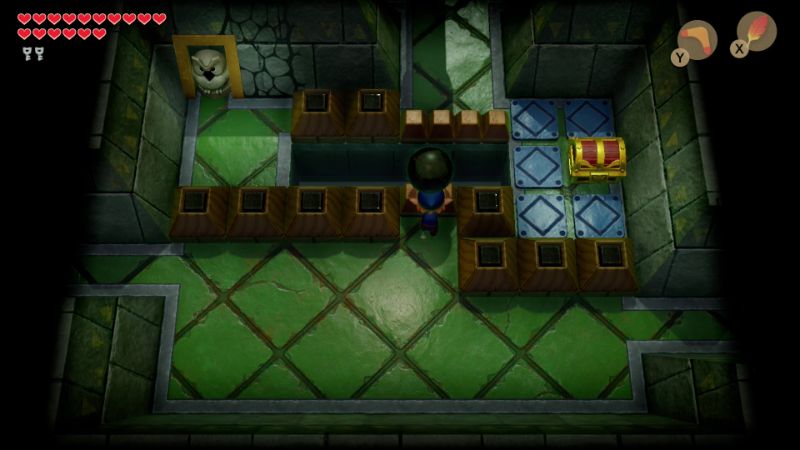
Back in the room with the Three-of-a-Kind enemies, you’ll find a gap at the top of the room. You cannot just across due to the barriers, but you can toss the bowling ball. Do just that so that the bowling ball is on the ground near the top of the room. Once you’ve done that, let’s head left a screen and up two screens through the one-way door.
You’ll find yourself in the room with floor tiles once again. Travel right a screen and if you look at the south wall, you’ll find two torches at the bottom-left part of the room. Place a bomb to explode open a hole in the wall and then head through.
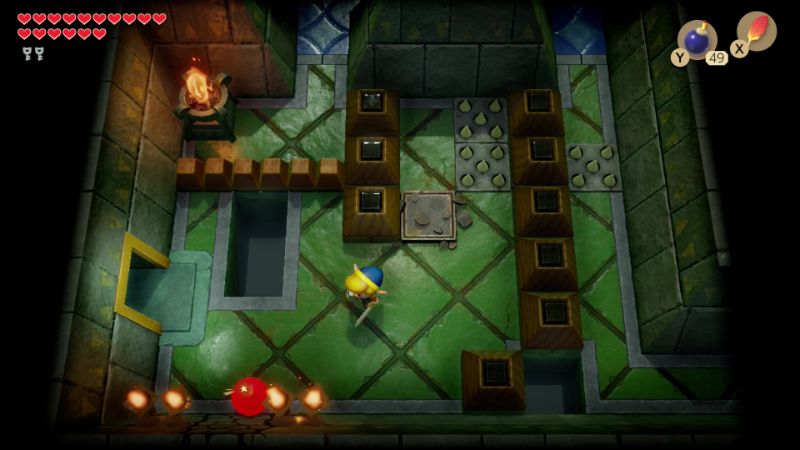

Walk to the bottom of the screen and place a second bomb against the wall. Walk down a screen and you’ll be back in the room with the bowling ball. Speak with the owl statue if you’d like and it says, “If you can’t go over the poles, try throwing things you have in your hands.” This hint is in reference to the barriers found in this room. Just a little while ago we tossed the bowling ball over the barrier. Anyway, pull out your hookshot and grapple over to the treasure on the right side of the room. Open it up to get some bombs. Grab the bowling ball and then head up a screen.
Finally you’ve reached the fourth and final pillar. Toss the bowling ball at the pillar and a cut-scene will take place, showing the outside of Eagle’s Tower falling down a level. With the fourth pillar now fallen, walk down a screen and fall down the gap to get back to the dungeon entrance.
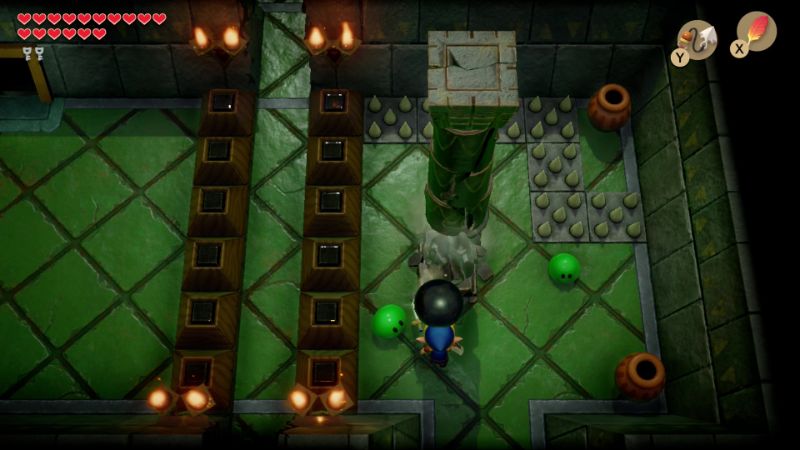

From the dungeon entrance head right two screens, up a screen on the right side, and then up the steps once again. With the blocks at the bottom of the room lowered, head down. Use the key on the locked block, climb the steps, and jump off to the left. Hit the crystal switch in the room once so that the blocks on the right side are lowered. We can now head up the steps to reach the third floor.
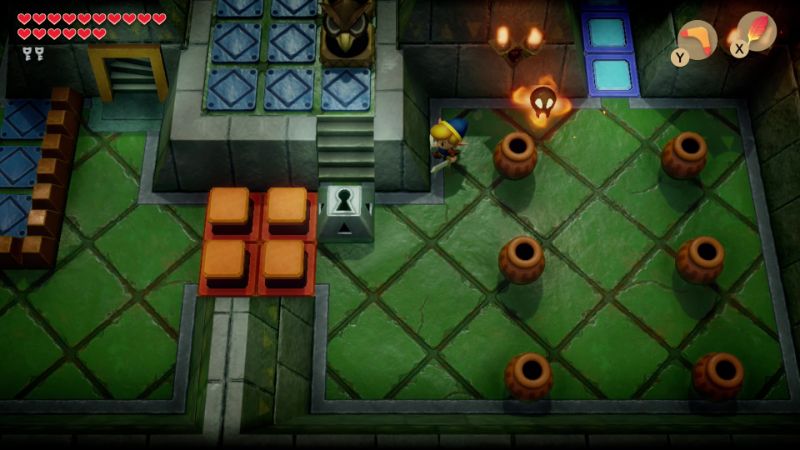
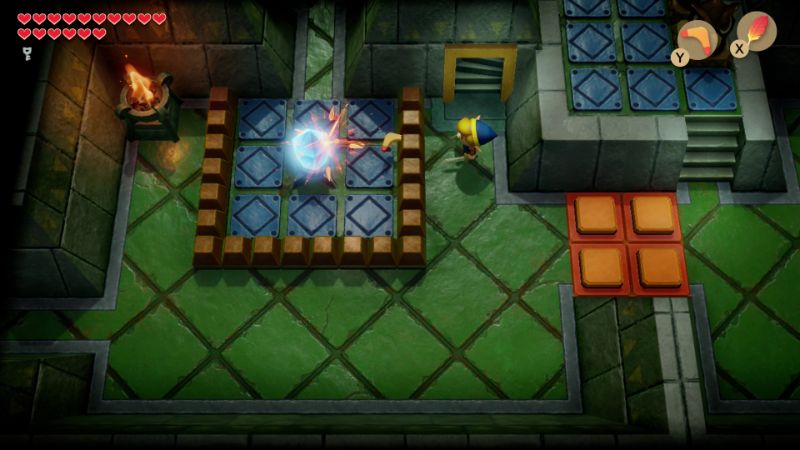
You could have actually reached this floor much earlier in the dungeon, but before knocking down the four pillars, there wasn’t too much that you could do. You could do some exploring if you’d like, but we want to head up a screen and right a screen to face off with the dungeon’s mini-boss, the Grim Creeper.
The Grim Creeper will immediately summon some of his minions in the form of six flying eye creatures. The Grim Creeper will send off the eye creatures in a formation and then one by one, they will fly towards you. What you need to do is slash and defeat all six of them when they come flying at you. If you miss one of them, then the battle will continue. Each time you miss at least one of them, the Grim Creeper will set them in a different formation. Once you have defeated all six of them, the Grim Creeper will fly off, leaving a warp portal behind. Walk up a screen through the door that opens.
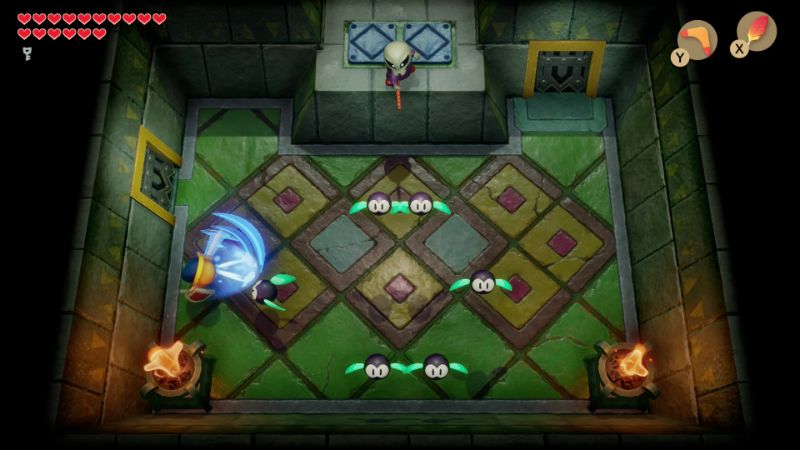
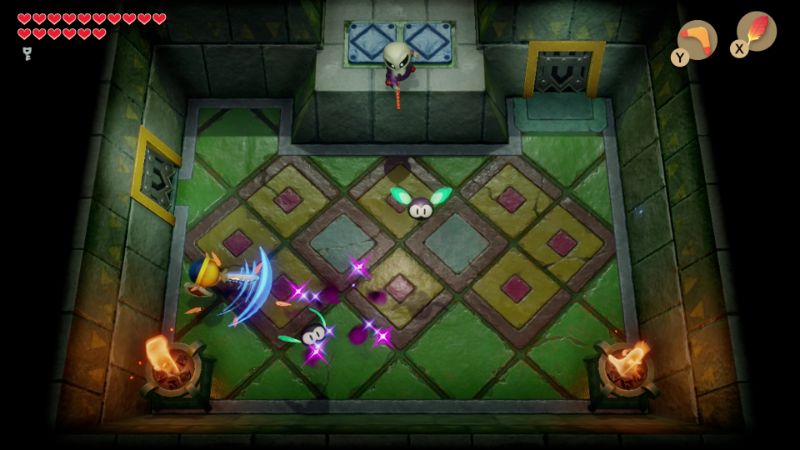
There are three sparks in this room, as well as a crystal switch. Defeat the three sparks in the room with the boomerang and then hit the crystal switch once. There are also two blocks found in this room. You need to push each block towards the middle of the room. Doing so will cause a treasure chest to appear, so open it to get the Nightmare Key. With the boss key in hand, head down a screen and left two screens.
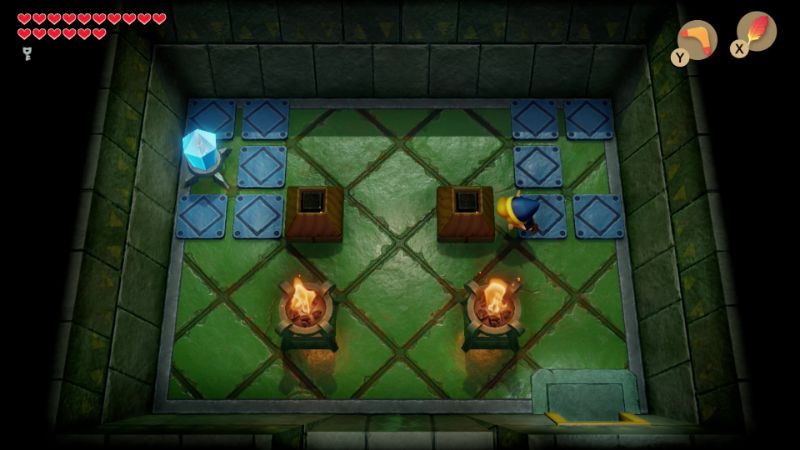
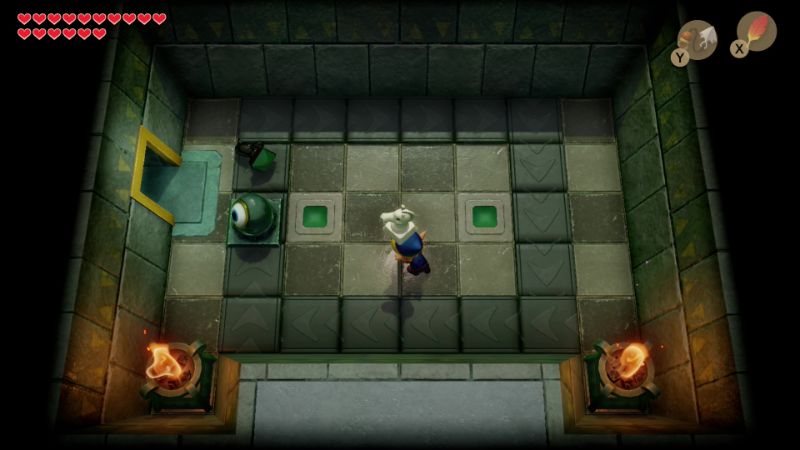
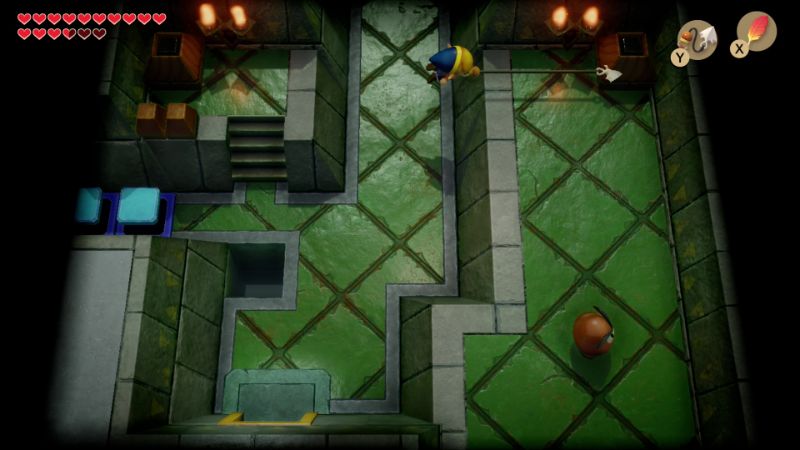
Use the nightmare key on the locked door and then head up a screen. Avoid the enemies and continue up another screen. Be careful of the blade traps and the beamos in this room. Avoid the enemies and continue right a screen. In this room, be careful of the beamos and defeat the enemy zol right away. Toss the two horse heads until they land properly, creating a treasure chest on the right side of the room. Open it up to get some secret medicine. Note: You can only hold one secret medicine at a time. From this room, backtrack left a screen and down a screen.
Climb the steps at the top-left part of the room and then pull out your hook shot. Use it to grapple over to the block on the right side of the room. From here, walk down a screen, right a screen, and head up the staircase.
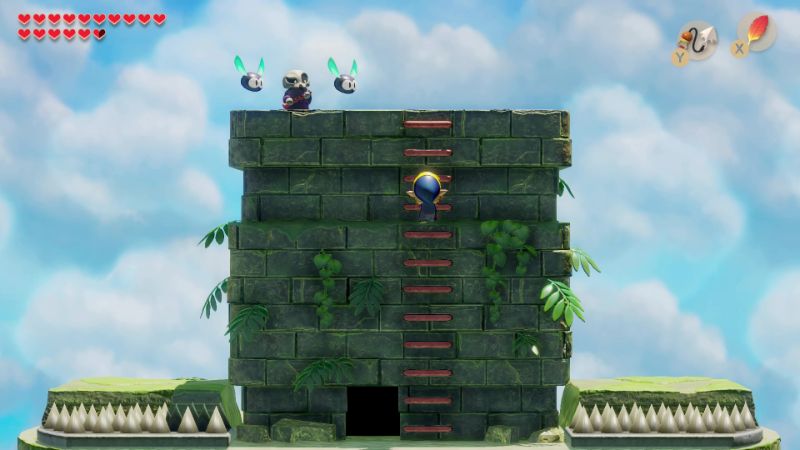
You will now be outside near the top of Eagle’s Tower. Once you are ready, climb up the long set of stairs to take on the dungeon boss, the Evil Eagle. Before the battle starts, the Grim Creeper will appear and jump on the back of the Evil Eagle.
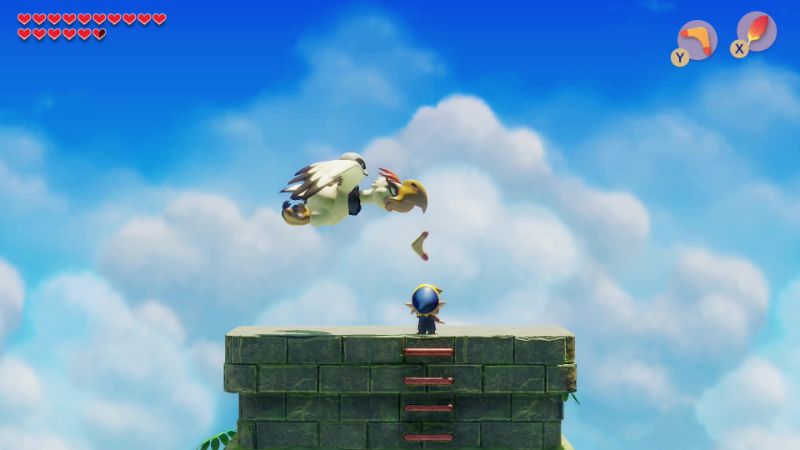
The Evil Eagle has a number of attacks in its arsenal. The obvious attack is if the Eagle simply flies low enough that it actually flies into you. This is its most damaging attack, but can easily be avoided if you just hit the Eagle with your sword. The Eagle will occasionally appear at the top-left or top-right part of the screen, wait for a moment, and then dash towards you. This attack can be blocked if you just hold out your Mirror Shield. When the eagle is down below, you can attack him with your sword, will keeping your shield out.
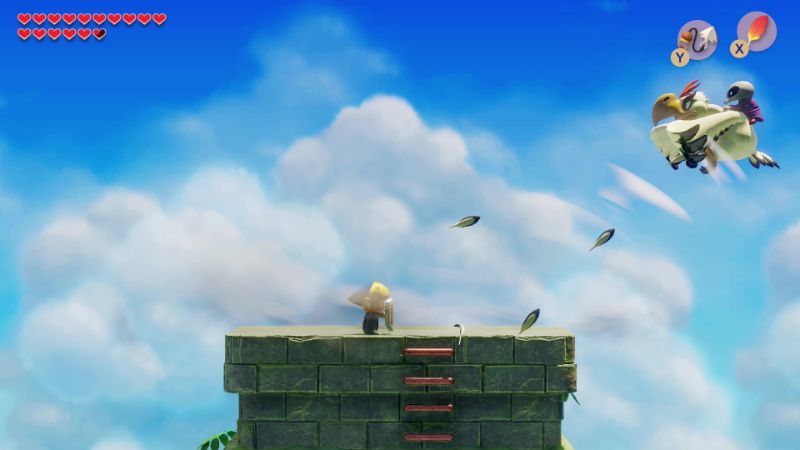
The third and final attack by the Evil Eagle is its feather attack. The eagle will appear at the top-left or top-right part of the screen and will start to flap its wings. This will blow Link away, so you have to hold the shield out in the direction of the Eagle to avoid being blown off the top of the tower.
If the Evil Eagle flies close to you, just slash away with your sword to hit him. If it just above you, you can leap up with Roc’s Feather and slash away with your sword. If the Eagle flies overhead, a well timed strike with the Bow and Arrow or the Boomerang can do harm. Only the Eagle’s head is vulnerable with the projectile weapons. Repeat these methods until the Evil Eagle has been defeated.

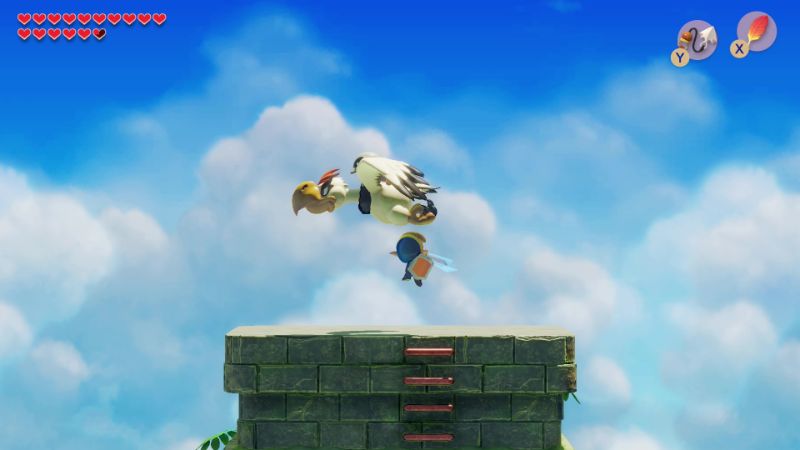
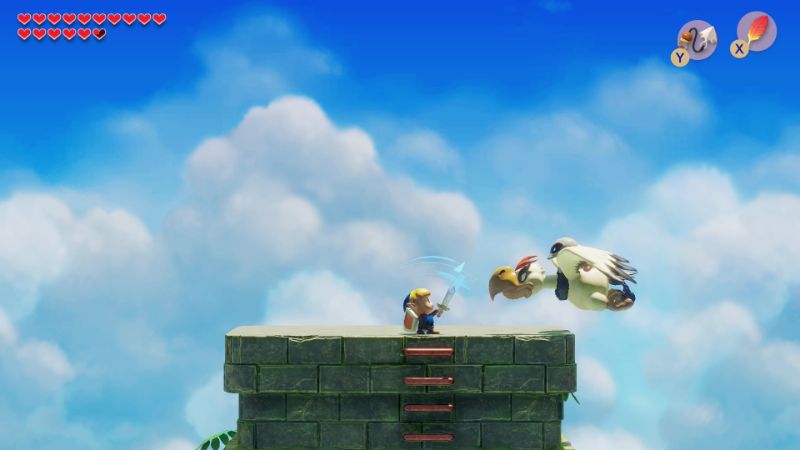
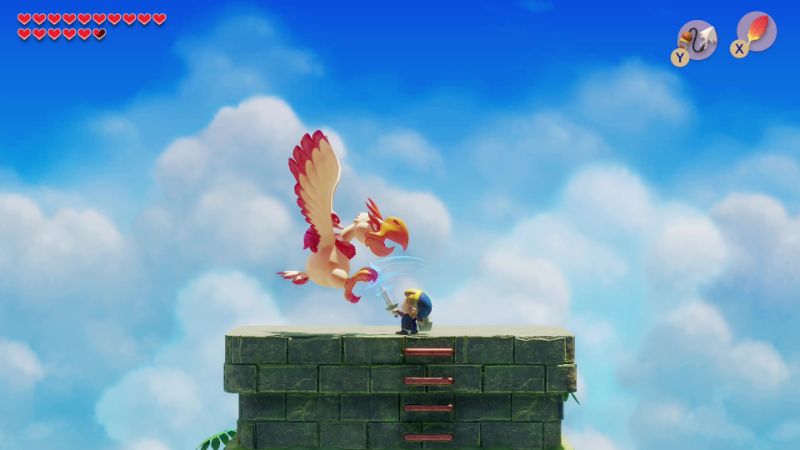
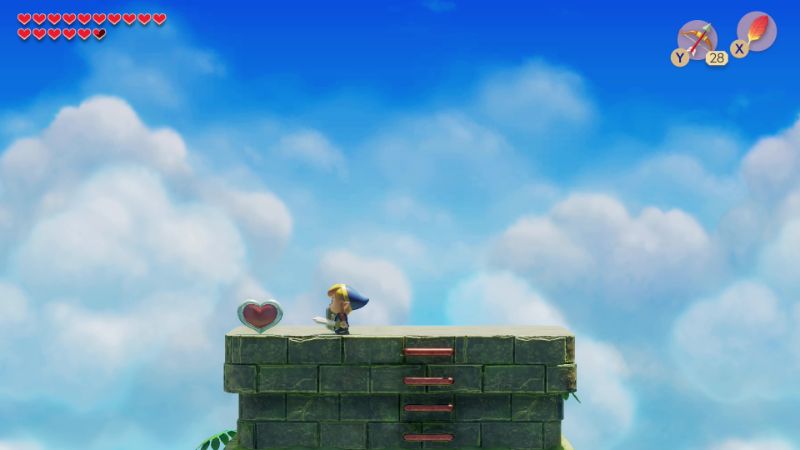
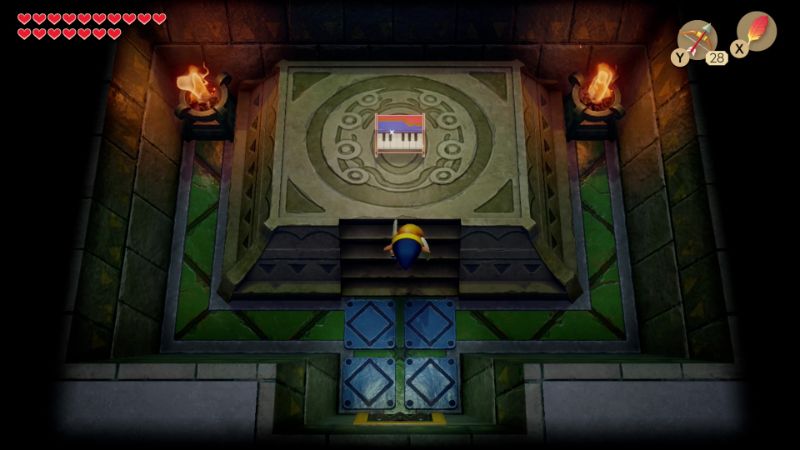
Once the Evil Eagle has been defeated, a Heart Container will drop down. Collect the heart container and climb down the ladder. Re-enter the dungeon, jump off the ledge to the right, and head up a screen. Walk up and collect the seventh Instrument of the Sirens, the Organ of Evening Calm!
| “…OCARINA… The music of the Ocarina leads…” |


